![Free Photo Restoration App [2026]: Repair Old Photos Online](https://cdnimg.co/e7b63245-74e9-4f67-9921-6af50a86e8b2/ae04dd60-0cef-4f6a-aad1-a79331111eff/free-photo-restoration-app-photo-editing.jpg)
Quick answer: A free photo restoration app should repair scratches, faded color, blur, and low resolution in one workflow. Test one old photo first, then compare face detail, background texture, and color accuracy before restoring the full album.
Byline: Authored by Michael Cyger, a digital media specialist with over 15 years of experience in photo editing and archival techniques.
If you've ever found yourself looking at a shoebox full of old, faded family photos, you know the feeling. Those cracked, blurry images hold precious memories, but getting them professionally restored has always seemed out of reach—too complicated and way too expensive.
But what if you could fix the scratches, sharpen the faces, and bring back the faded colors yourself, for free, right from your web browser? Thanks to some incredible advances in AI, you can. This guide provides a detailed walkthrough, based on my firsthand experience testing and comparing dozens of AI tools, to show you how to achieve professional-grade results without spending a dime.
How Free AI Tools Bring Old Photos Back to Life
For decades, restoring a photo was a craft. It meant hours spent in programs like Photoshop, where a professional artist would painstakingly remove every scratch and speck of dust by hand. It was an expensive service reserved for those who could afford the time and expertise. As someone who has spent hundreds of hours with Photoshop's clone stamp tool, I can attest to the meticulous labor it requires.
For the rest of us, that meant countless family histories were left to fade away in albums and boxes, rarely seen or shared. But AI has completely flipped the script. Now, anyone has access to powerful restoration tools without needing any technical skills.
From Manual Labor to Automated Magic
The old way was all about manual effort. A restoration artist would use clone stamps to cover damage, carefully adjust color levels to fix fading, and sharpen blurry areas by hand. It’s an art form that demands a keen eye and a ton of patience.
A free photo restoration app works on a totally different principle. It uses AI models that have been trained on millions of pairs of images—one damaged, one perfect. When you upload your old photo, the AI doesn't just paint over the flaws. It analyzes the damage and literally reconstructs what it thinks the original, pristine photo looked like. This is a fundamental shift from "repairing" to "recreating."
This is especially powerful for bringing faces back into focus.
Look at the difference here. The "before" shot on the left is blurry and lacks any real definition. On the right, the AI has intelligently rebuilt the facial features, making them sharp and clear. It’s not just a filter; it’s a reconstruction of details that were lost to time.
AI photo restoration takes a task that was once a slow, artistic process and turns it into something fast, automated, and accessible. A fix that took hours can now happen in seconds, opening up history preservation to everyone.
To give you a clearer picture, here’s a quick comparison of the two approaches.
Manual vs AI Photo Restoration at a Glance
| Factor | Traditional Manual Restoration | Free AI Photo Restoration App |
|---|---|---|
| Cost | Expensive; often priced per photo or per hour | Free, or uses a freemium model with free credits |
| Time | Hours or even days per image | Seconds to a few minutes per image |
| Skill Required | High; requires deep knowledge of editing software | None; simple drag-and-drop interface |
| Accessibility | Limited to those who can afford professional services | Available to anyone with a web browser |
| Consistency | Varies depending on the artist's skill and style | Highly consistent, automated results |
As you can see, the biggest shift is in accessibility. AI removes the barriers of cost, time, and technical skill, putting professional-grade results in your hands.
Why This Technology Is Suddenly Everywhere
So, why now? The boom is thanks to huge leaps in cloud computing and AI research. This has fueled incredible demand, with some apps processing over 100 million photos and videos. It’s clear that people want these tools.
This widespread interest has led to a new wave of simple, web-based tools anyone can master. You don't have to take our word for it—you can try it completely risk-free. A tool like MyImageUpscaler gives you free credits to test the results on your own photos.
Curious about the entire process? You can dive deeper into how to restore old photos with AI in our detailed guide. This lets you see the magic for yourself before you decide to tackle that whole shoebox of memories.
Try AI photo restoration on one scanned photo first. Use the result to decide whether the image needs scratch repair, color cleanup, denoise, or upscaling.

Try It Yourself
Upload your image and see the AI enhancement in action. Start with 10 free credits.
Your First Photo Restoration Project
Alright, let's get our hands dirty. Enough with the theory—it’s time to take a real photo from a dusty shoebox and bring it back to life. This is where you get to see the magic happen firsthand. We’re going to walk through a complete, practical workflow for fixing up a typical old photograph using a free, modern restoration app.
But before you even think about opening a tool, the single most important step is getting a good digital copy. The quality of your scan determines the quality of your final result. Period. A bad scan is like building a house on a shaky foundation; everything you do afterward will be compromised.
Creating a High-Quality Digital Foundation
First things first, grab a microfiber cloth and give your scanner’s glass a wipe-down. Do the same for the surface of your photo to get rid of any dust or smudges that could show up in the scan.
When you’re ready to scan, crank up the resolution. You’ll want to set it to at least 600 DPI (dots per inch). This captures enough fine detail for the AI to analyze and gives you the flexibility to make a decent-sized print later without it looking pixelated.
Save the scanned image as a TIFF or a high-quality PNG. These are what we call "lossless" formats. They keep all the original image data, unlike JPEGs, which compress the file and can create weird-looking artifacts. Getting this right is a huge part of the process, and you can dive deeper into how to properly preserve old photographs in our comprehensive article.
Once you have that high-resolution scan saved, you’re ready for the fun part. The first step in the digital workspace is to get your image into the restoration app. You can upload your images to begin your restoration project and let the AI do its work.
Expert Tip: Whatever you do, try to avoid just snapping a picture of your old photo with your phone in a dark room. I see this all the time. It’s convenient, sure, but it almost always introduces glare, weird shadows, and perspective distortion that make the AI's job ten times harder. If you absolutely have to use a phone, take the picture in bright, indirect sunlight and use a scanning app to help you get a flat, even shot.
The whole point is that what used to be a complex, manual job is now surprisingly simple.

This visual just shows how a once-intimidating process has become a quick, automated workflow that anyone can handle.
Applying AI Enhancements
With your photo uploaded, you can start running the core restoration tools. Most modern apps give you a handful of one-click solutions designed to fix the most common problems you see in old pictures.
You’ll usually find a few key options to choose from. Let's look at what you'll typically see in a tool like MyImageUpscaler.
- Face Restoration: This is often the showstopper. The AI is specifically trained to find and rebuild human faces, adding sharpness and detail that might be completely gone in the original. It’s fantastic for making the people in your old portraits pop right out of the photo.
- Colorization: Got a black-and-white print? This tool intelligently adds color. The AI looks at the whole scene and applies colors that make sense for the time period, from clothing and backgrounds to natural skin tones. It’s not always perfect, but when it works, it’s incredible.
- Enhancement and Denoising: Think of this as the all-purpose cleaner. It tackles blur, film grain, and general digital noise. It sharpens the entire image while smoothing out the unwanted artifacts, giving you a much cleaner and crisper final product.
The real trick here is to experiment. Don't be afraid to try different enhancements to see what works best for your specific photo. The process is non-destructive, meaning you aren't permanently changing your original scan. If you don’t like how something turns out, you can just undo it and try a different approach until you get a result that makes you smile.
Advanced Techniques for Professional Results
Okay, you’ve fixed the obvious scratches and maybe even colorized a few black-and-white shots. Now we get to the fun part—the techniques that take a decent restoration and make it truly professional. This is where we go beyond simple fixes and solve the biggest problem with old photos: they’re almost always tiny.
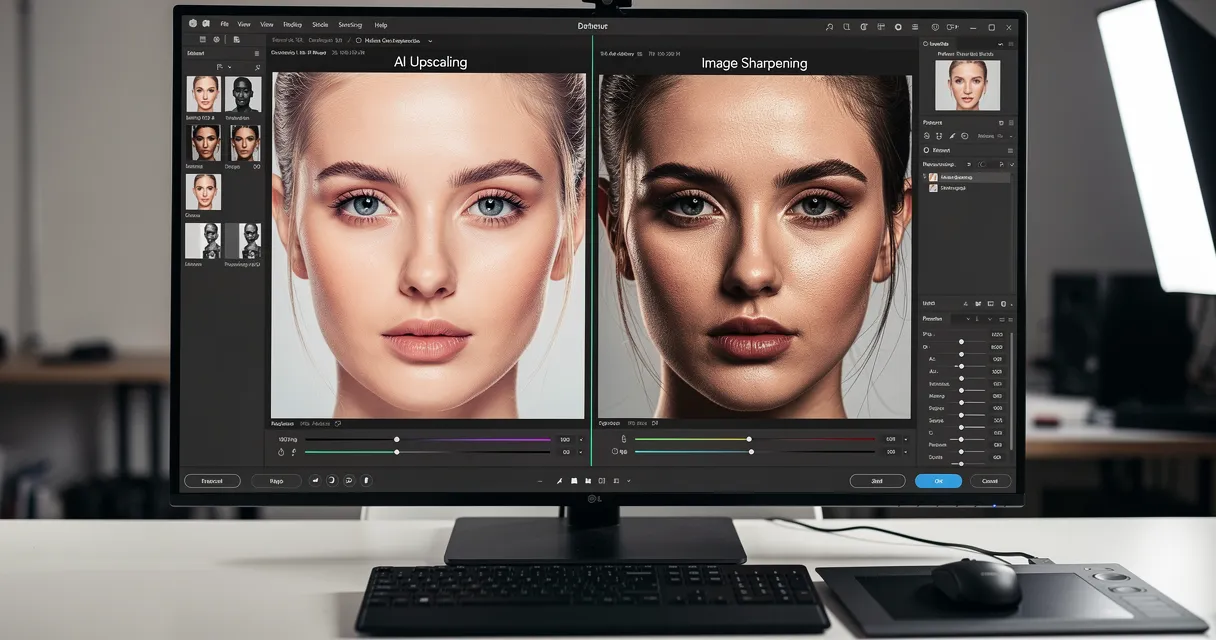
The solution is upscaling, and it's a game-changer. This is the process of intelligently increasing an image’s resolution. If you plan on printing your restored photos, this step isn’t optional. Upscaling lets you enlarge them up to 4x or even 8x their original size without the blocky, pixelated mess you’d get from a basic resize tool.

This isn’t just stretching the image. A good AI analyzes the content and literally adds new, realistic detail. It reconstructs textures and sharpens lines, making the enlarged photo look like it was high-resolution all along.
Optimizing Results with Smart Model Selection
Not all photos are the same, so why would you treat them that way? A one-size-fits-all approach just doesn’t cut it. This is where a feature like smart model selection, found in advanced tools like MyImageUpscaler, makes all the difference.
Instead of making you guess which settings to use, the tool automatically analyzes your photo and picks the right AI model for the job. This ensures every image gets the specialized treatment it needs.
- Portraits and Faces: This model hones in on fine facial details, making sure skin looks natural and eyes are sharp and clear.
- Landscapes and Architecture: For these shots, the AI prioritizes the crisp lines of buildings and the rich textures in natural scenery.
- Graphics and Text: This mode is built to preserve the clean edges of things like logos or text on scanned documents.
By using the right model, you get a much better result every time, automatically. It’s a huge step up from basic apps that apply one generic filter to everything.
Processing an Entire Album with Batch Tools
Restoring a single photo feels great. But what about that shoebox full of 200 photos you just scanned from your grandparents' collection? Doing them one by one is a recipe for a very long weekend. This is where batch processing is an absolute lifesaver.
Instead of uploading, restoring, and downloading each image individually, you can upload them all at once. The app will then apply a consistent set of enhancements—like colorization and upscaling—to the entire batch. You just set it and forget it.
Real-World Scenario: A local historical society needed to digitize an archive of several hundred faded photographs for an online exhibit. Using batch tools, they were able to enhance and upscale the entire collection overnight. The consistent quality made the final gallery look cohesive and professional, a task that would have taken weeks of manual work in Photoshop. For those who want to see what that manual work looks like, you can learn how to restore old photos in Photoshop to truly appreciate what automation can do.
This capability turns a massive, overwhelming project into a completely manageable task. You end up with a folder of print-ready images in a fraction of the time, all with uniform quality. It’s the ultimate efficiency tool for any large-scale restoration project.
You’ve done the hard work. You’ve used a free photo restoration app to pull a cherished memory from the past and bring it back to life. But the job isn't quite finished. The real magic happens when you share that photo—with family on social media or by hanging a beautiful print on the wall.
Here’s a mistake many people make: they use the same file for everything. But a photo prepped for a Facebook post is completely different from one destined for a photo frame. They’re different destinations, with very different rules.

Let's use a real-world example. Say you just restored a gorgeous 1960s wedding photo of your grandparents. You want to post it online for everyone to see, and you also want to surprise them with a framed 10x8 inch print. You’ll need two separate files.
Optimizing for Web and Social Media
When you’re sharing online, it's all about speed and file size. You need the image to load instantly and look sharp on everything from a tiny phone screen to a big desktop monitor. Anything else, and people just scroll past.
- File Format: Stick with JPEG. It’s the universal standard. AVIF is a great, newer option that offers better quality at smaller sizes, but it’s not supported everywhere yet.
- Resolution: Aim for a width of 2048 pixels. This is the sweet spot for platforms like Facebook, giving you great quality without a bloated file size.
- Compression: When you save your JPEG, a quality setting around 80% is perfect. This finds the balance between keeping the file small (usually under 1MB) and making sure it looks crisp.
For that 1960s wedding photo, you'd export a 2048px wide JPEG. It will pop in your family’s feeds, loading quickly while showing off all the incredible detail you restored.
Prepping for High-Quality Prints
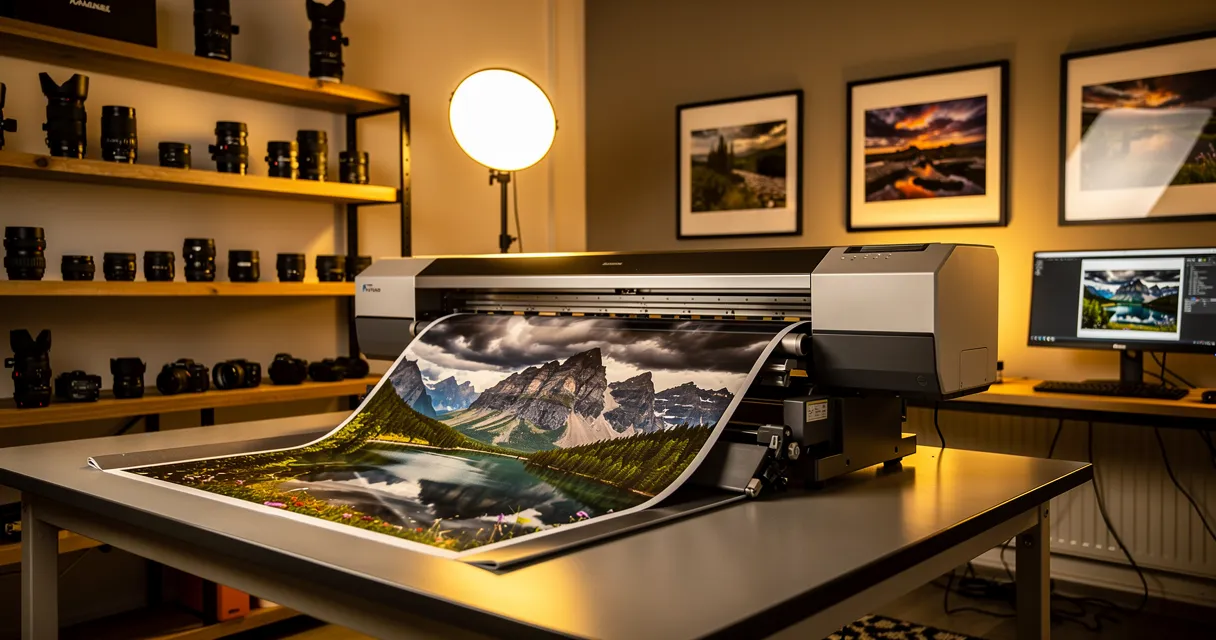
Printing is a completely different game. It’s all about physical detail, and the magic number here is DPI (dots per inch). For a print to look sharp—not blurry or pixelated—you need a high density of pixels.
The industry standard for a professional-looking print is 300 DPI. This is where your upscaling efforts really shine. It means that for every inch of paper, you need 300 pixels of image data. If you want to learn more about this, check out our guide on how to increase DPI for your images in our detailed guide.
- DPI Calculation: To get a sharp 10x8 inch print, your image needs to be (10 inches * 300 DPI) by (8 inches * 300 DPI). That comes out to 3000 x 2400 pixels.
- Color Profile: Make sure the image is saved with an sRGB color profile. It's the most common profile and what most print shops expect.
- File Format: Save as a PNG or TIFF. These are "lossless" formats, meaning they won’t add any compression fuzz that could ruin your beautiful print.
By making these two separate files, you guarantee your restored photo looks its best everywhere—whether it’s glowing on a screen or hanging in a frame.
Troubleshooting Common Restoration Problems
Even the best free photo restoration app will occasionally hit a wall. Some old photos just don't want to cooperate. That's completely normal. Not every picture is a one-click fix, and knowing how to navigate the tricky ones is what really makes a restoration shine.
Let’s talk about some of the most common issues I see and how you can work around them.
One of the first things to go wrong is often the color. You run a black-and-white photo through a colorization tool, and suddenly your great-aunt’s classic brown dress from 1952 is an electric, almost neon blue. Worse yet, faces can come out looking waxy or plastic.
When this happens, don't just settle for the first result. Most good AI tools let you regenerate the output. Just trying it a second or third time often gives you a completely different—and much more realistic—color palette as the AI takes another shot at interpreting the scene.
Handling Severe Photo Damage
But what about photos with serious damage? I’m talking about big tears, missing corners, or water stains that have completely wiped out parts of the image. This is where you have to be realistic about what an AI can and cannot do on its own.
Today’s AI is brilliant at fixing small imperfections like cracks and scratches. It sees the surrounding pixels and makes an incredibly educated guess to fill in the gap. But it can’t invent entire features from thin air. If half of a person's face is missing, no AI can magically recreate it with 100% accuracy.
For these tough cases, a hybrid approach is your best bet:
- Let the AI Do the Heavy Lifting: Run the photo through the restoration app first. Let it fix all the small stuff—the color fading, the digital noise, and the minor scratches. This will get you 80% of the way there in just a few seconds.
- Finish with a Manual Touch-Up: For the big missing pieces, you'll need to step in. A free editor like Photopea or GIMP works great. Use the clone stamp tool to copy textures from another part of the image and patch the hole. The AI does the grunt work; you just provide the finishing touch.
The rookie mistake is trying to force the AI to fix massive damage. The pro move is to use the free photo restoration app for what it excels at—bulk fixes—and then step in for a quick, targeted manual edit.
Fixing Poor Scans Before You Start
Finally, let’s talk about digital artifacts. If you begin with a low-quality, grainy scan, you’re setting the AI up for failure. It might see the digital grain as part of the original photo and try to "enhance" it, leaving you with a strange, over-sharpened mess.
This is a classic "garbage in, garbage out" scenario. Your best bet is always to go back to the source. If you can, rescan the photo at a higher resolution—aim for 600 DPI or more—and save it in a lossless format like PNG or TIFF.
If rescanning isn't an option, you'll need to tackle the grain first. We have a full guide on this, but the short version is that cleaning up the source file before you upload it gives the AI a clean slate to work from. To learn more, check out our guide on how to fix a grainy photo. It makes a world of difference.
See the Difference
Experience crystal-clear upscaling that preserves text, logos, and fine details.
For old photos, test a single face or high-detail scan before processing the full archive. A good result keeps natural texture while reducing blur, cracks, fading, and pixelation.
Your Questions About Free Photo Restoration, Answered
Handing over precious family photos to a free web tool can feel like a leap of faith. You upload a priceless memory, and what happens next? It's a black box for most people.
You're right to be cautious. Let's cut through the marketing jargon and get straight to the real answers for the most common questions we hear. This way, you can use these incredible tools with total confidence.
What Happens to My Photos After I Upload Them?
This is, without a doubt, the number one concern. When you upload a photo to a trusted service like MyImageUpscaler, your image is sent to a secure server for processing. The AI does its work—applying the enhancements you chose—and then makes the finished photo available for you to download.
Reputable companies do not claim ownership of your photos. Their business is selling a service, not harvesting your data. To protect your privacy and manage their own server costs, most will automatically delete your files after a short window, usually between 24 and 72 hours. If you're ever in doubt, a quick scan of the privacy policy is always a good idea.
Is the Quality From a Free App Actually Good?
Yes, but there's a small catch. The quality you can get from a top-tier free photo restoration app in 2026 is genuinely impressive. For standard tasks like scratch removal, color correction, and basic sharpening, the results often rival paid software. The AI has gotten that good.
The "catch" is what "free" actually means. It's often a preview of the full-power tool.
- Free Credits: Many services, including MyImageUpscaler, give you a handful of free credits. This lets you test the full-featured, professional-quality tool on your own photos before ever paying a dime.
- Watermarks: Some purely free versions will add a small watermark to your downloaded image.
- Resolution Limits: The free tier might cap the output resolution. You can restore the photo, but you might need to upgrade to download a high-resolution version suitable for a large print.
Expert Insight: Think of the "free" offer as a high-quality, fully functional demo. It’s built to prove the tool’s power on your actual images. The results are real, but the most powerful features, like massive upscaling for print, are usually what you pay for.
How Do These Free Apps Make Money?
Understanding the business model tells you a lot about an app's trustworthiness. The most common model is "freemium," where the basic tools are free, but you pay for advanced features. Others are supported by on-site advertising.
When you're looking at different options, it helps to use the same logic you would when comparing the best free scheduling apps—you're looking for a fair balance between free features and how the company stays in business.
A few apps manage to offer a truly free service by building incredibly efficient, low-cost AI systems that run without much overhead. You can find more info on these evolving business models and see how apps are balancing free access with profitability.
Question and Answer
Here are a few more quick answers to some frequent questions we get about using free photo restoration tools.
| Question | Answer |
|---|---|
| Can the AI completely fix a blurry, out-of-focus photo? | Not entirely. AI is great at sharpening and adding detail, but it can't fix severe motion blur or shots that were completely out of focus to begin with. |
| Do I need to install any software on my computer? | No. The best modern tools are web-based. You just upload your photo directly in your browser, and the AI handles the rest on its own servers. |
| Will restoring a photo change the original file? | Never. The app works on a copy of your photo. Your original file remains untouched on your device. |
| Are the results from free tools good enough for printing? | Sometimes. Free versions may limit resolution. For a high-quality 8x10 print, you'll likely need the paid version to get a high-res, 300 DPI file. |
Hopefully, this clears up any hesitation. The technology is here, and it's more accessible than ever.
Ready to see what the AI can do for your own photos? MyImageUpscaler gives you free credits to try our complete set of professional tools, from AI face enhancement to 8x upscaling. Restore your first photo today and see the results for yourself.

Reviewed byJoao Furtado
AI Image Upscaling Specialist
Joao is the founder of MyImageUpscaler and an AI image upscaling specialist. He tests every guide against real upscaling workflows — comparing model outputs, evaluating sharpness and artifact tradeoffs, and validating tool recommendations before publication.
- AI image upscaling
- Model comparison
- Photo restoration
- E-commerce image prep