

![How to Enhance Picture Quality with AI: Fix Blurry and Old Photos [2026]](https://xqysaylskffsfwunczbd.supabase.co/storage/v1/object/public/blog-images/2026/02/1771192943967-featured-restore.webp)
How to Enhance Picture Quality with AI: Fix Blurry and Old Photos
That vacation photo from 2005. Your grandparents' wedding picture. The screenshot you desperately need for a presentation. They all share one problem: terrible quality.
Traditional photo editors can brighten colors and crop borders, but they can't add detail that isn't there. AI image enhancement can. It analyzes what's in the image and intelligently fills in missing information, turning a blurry mess into something you'd actually want to print.
Here's exactly how it works and how to do it yourself in under a minute.
What AI Image Enhancement Actually Does
When you zoom into a low-quality photo, you see blocky pixels. There's no hidden detail waiting to be revealed. The information simply doesn't exist.
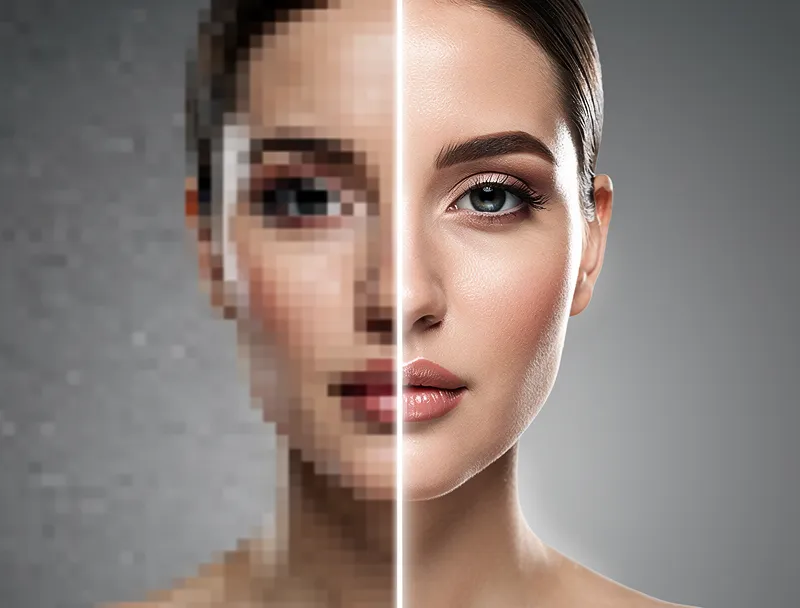
AI enhancement uses neural networks trained on millions of image pairs — low-quality originals paired with their high-resolution counterparts. The model learns patterns: how skin texture should look, how fabric drapes, how tree leaves scatter light. When you feed it a blurry photo, it predicts and generates the missing detail.
This isn't the same as Photoshop's "sharpen" filter, which just increases contrast between adjacent pixels. AI enhancement creates new pixel data that wasn't in the original file.
Common Photo Problems AI Can Fix
Not every image issue needs the same solution. Here's what AI handles well:
Blurry or out-of-focus shots. Whether it's camera shake or a missed autofocus, AI can reconstruct edge detail and sharpness. Motion blur is trickier than defocus blur, but modern models handle both.
Low-resolution images. Photos taken on old phones (think 2-megapixel cameras from 2008), screenshots, or images downloaded from the web at thumbnail size. AI upscaling can take these from 500px to 2000px without the plastic look of traditional resizing.
Faded or discolored old photos. Scanned prints that have yellowed with age, lost contrast, or developed color shifts. AI not only sharpens these but can help restore natural color tones.
Compression artifacts. Those blocky, smeared areas from saving a JPEG too many times. AI recognizes compression patterns and smooths them out while preserving real detail.
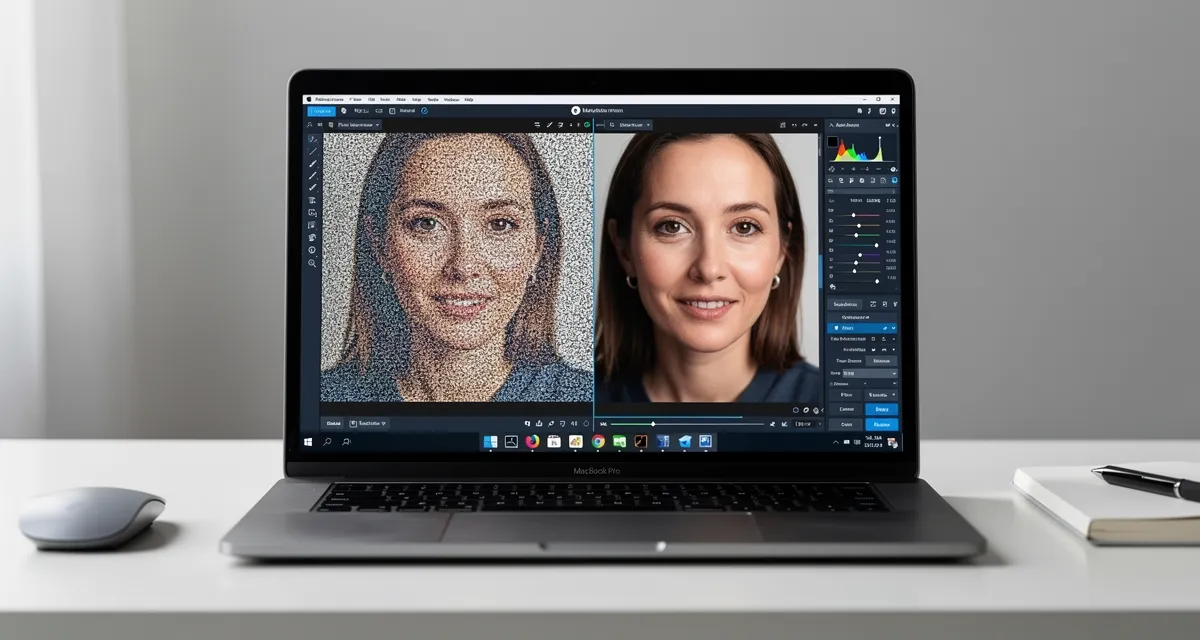
Noisy low-light photos. Grain and noise from high ISO settings or small phone sensors. AI denoising separates signal from noise far better than older algorithms.
How to Enhance Your Photos: Step by Step
The process takes less than 60 seconds. No downloads, no signups.
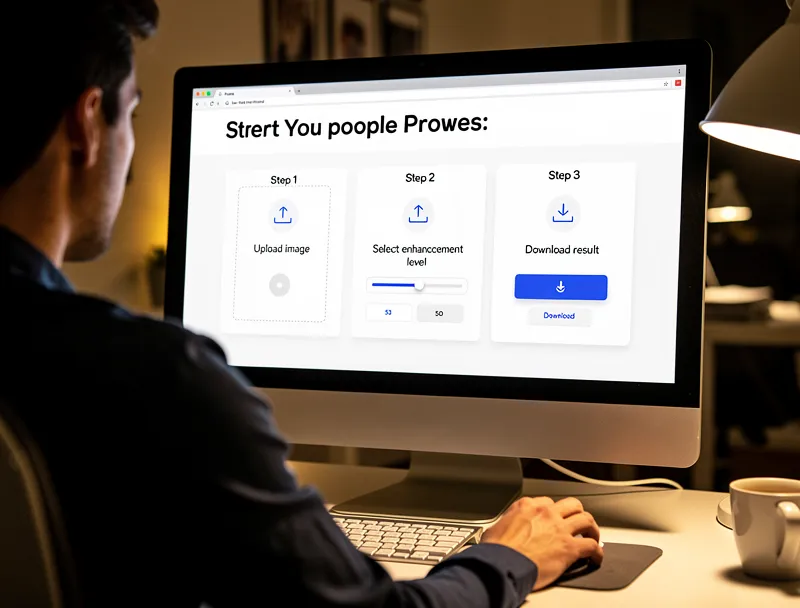
Step 1: Open the tool. Go to MyImageUpscaler. The interface loads instantly in your browser.
Step 2: Upload your image. Drag and drop your photo or click to browse. Supported formats include JPEG, PNG, WebP, TIFF, AVIF, and BMP. Files up to 10MB work fine.
Step 3: Select your enhancement level. Choose 2x for moderate improvement or 4x for maximum enhancement. For most blurry photos, 2x strikes the right balance between enhancement and natural appearance.
Step 4: Process and download. Click enhance and wait a few seconds. The AI processes your image on the server and delivers a high-quality result. Download the enhanced version in your preferred format.
That's it. No account creation, no watermarks on the free tier, no installing desktop software.
When Does AI Enhancement Work Best?
AI isn't magic. Setting the right expectations matters.
Best results with:
- Photos that have moderate blur (not completely destroyed)
- Images at least 200x200 pixels
- Faces and portraits (AI models are heavily trained on these)
- Landscapes and architecture with clear structures
- Product photos with defined edges
Limited results with:
- Extremely low resolution (under 50x50 pixels)
- Heavy motion blur across the entire frame
- Text in images (AI may distort letterforms)
- Artistic styles it hasn't been trained on
A good rule of thumb: if you can still recognize the subject in the original, AI can probably enhance it meaningfully.
Real-World Use Cases
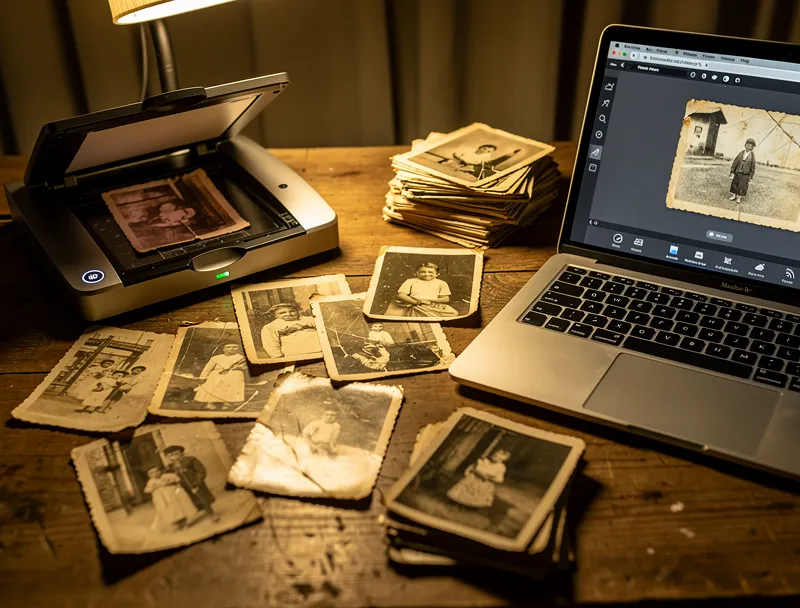
Restoring family photos. Dig out that box of old prints, scan them at whatever resolution your scanner supports, and let AI fill in the rest. I've seen 20-year-old wedding photos go from "barely recognizable" to "frame-worthy."
Improving product images for online stores. Selling on eBay, Etsy, or Amazon? Product photos shot on a phone in poor lighting can be transformed into crisp, professional-looking images that build buyer confidence.
Social media content. Instagram, LinkedIn, and Facebook all compress uploaded images aggressively. Starting with a higher-quality source means your posts look sharper after platform compression eats into the quality.
Printing old digital photos. That 640x480 photo from your first digital camera? Upscale it to 2560x1920 and you've got enough resolution for a decent 8x6 print. Not gallery quality, but absolutely good enough for a photo album.
Tips for the Best Enhancement Results
Start with the highest quality source you have. If you have the original file, use it. Don't enhance a screenshot of a photo when you could enhance the actual file. Every generation of compression loses data.
Don't over-enhance. Running a photo through 4x upscaling when 2x would suffice often introduces artifacts. Start with the lowest multiplier that meets your needs and increase only if necessary.
Check faces closely. AI occasionally makes subtle errors on facial features — an eyelid that looks slightly off, skin texture that's too smooth. Zoom to 100% on faces before committing to the result.
Save in PNG for maximum quality. After enhancing, save as PNG rather than JPEG to avoid reintroducing compression artifacts. Only convert to JPEG when you need the smaller file size for web use.
Batch process when possible. If you have 20 photos from the same event, enhance them all at once. Consistent enhancement settings across a set looks better than mixing different tools or settings.
AI Enhancement vs. Traditional Editing
You might wonder why you can't just use Photoshop or Lightroom. Here's the honest comparison:
Traditional editors are better for color correction, cropping, exposure adjustment, and creative effects. They work with the data that's already in the image.
AI enhancement is better when the data isn't there. No amount of manual sharpening in Photoshop will add genuine detail to a 300px wide image. AI can.
The two aren't competitors — they're complementary. Enhance the resolution and detail with AI first, then fine-tune color and exposure in your preferred editor.
Start Enhancing Your Photos
Bad photo quality isn't permanent anymore. Whether you're rescuing old family memories, preparing images for print, or upgrading product photos for your store, AI enhancement turns minutes of work into dramatically better results.
Upload your photo to MyImageUpscaler and see the difference for yourself — it's free, runs in your browser, and takes about 10 seconds.
Frequently Asked Questions
Quick answers for this guide
How do I enhance picture quality with AI fix blurry and old photos []?+
Fix blurry, low-resolution, and old photos with AI image enhancement. Free online tool with step-by-step guide. No signup, instant results. Start with the highest-quality source file available, choose the smallest upscale factor that meets your target size, and inspect the result at 100% before publishing or printing.
When should I use AI upscaling for this workflow?+
Use AI upscaling when the original image is too small for the target use case but still has enough detail to guide the model. For guides work, pay closest attention to source image quality, upscale settings, output dimensions, and final visual inspection, especially enhancement, AI, photo.
How do I avoid losing quality after upscaling?+
Upscale once from the best original, avoid repeated compression, keep important text and edges sharp, and export in a format that matches the final use. If the output shows halos, smeared texture, or distorted text, reduce the upscale factor or use a cleaner source image.

Reviewed byJoao Furtado
AI Image Upscaling Specialist
Joao is the founder of MyImageUpscaler and an AI image upscaling specialist. He tests every guide against real upscaling workflows — comparing model outputs, evaluating sharpness and artifact tradeoffs, and validating tool recommendations before publication.
- AI image upscaling
- Model comparison
- Photo restoration
- E-commerce image prep
![Upscale Image Online Free — No Sign Up, No Watermarks [2026]](https://xqysaylskffsfwunczbd.supabase.co/storage/v1/object/public/blog-images/2026/02/1771797822106-featured-online-upscaler.webp)