
![How to Increase DPI of an Image: Fast AI-Powered Method [2026]](https://xqysaylskffsfwunczbd.supabase.co/storage/v1/object/public/blog-images/2026/03/1773003976897-dpi-featured.webp)
How to Increase DPI of an Image with AI
You need to increase the DPI of an image, but every method you've tried just makes it blurry. That's because most tools only change the metadata — they don't add real pixels. Here's how to actually do it right.
What DPI Really Means (And Why It Matters)
DPI stands for "dots per inch." It tells printers how many ink dots to place in each inch of paper. A 72 DPI image looks fine on screen but prints fuzzy. A 300 DPI image prints sharp and clear.
Here's the catch: DPI is not the same as resolution. A 3000×2000 pixel image at 72 DPI and 300 DPI contains the exact same data. The DPI tag just tells the printer how large to print it.
- 72 DPI = standard screen resolution
- 150 DPI = acceptable for large posters viewed from a distance
- 300 DPI = professional print quality (magazines, photos, business cards)
- 600 DPI = ultra-fine detail (art reproductions, medical imaging)
So when someone says "increase DPI," what they usually mean is: make the image large enough to print at 300 DPI without looking terrible.
The Wrong Way: Just Changing the DPI Number
Many tutorials suggest opening your image in Photoshop, unchecking "Resample," and typing 300 in the DPI field. This changes the metadata tag but does nothing to the actual image.
Your 1000×750 image at 72 DPI becomes 1000×750 at 300 DPI. Same pixels. It just prints smaller — about 3.3×2.5 inches instead of 13.9×10.4 inches. If you need it bigger, you're stuck with the same fuzzy result.
Resampling with bicubic interpolation isn't much better. It stretches pixels and adds blur. The result looks soft, mushy, and unprofessional.
The Right Way: AI Upscaling to Increase Real Resolution
AI upscaling solves this problem by generating new pixel data. Neural networks trained on millions of images predict what the missing detail should look like — sharp edges, fine textures, readable text.
Here's the difference:
| Method | What It Does | Result |
|---|---|---|
| Change DPI metadata | Relabels existing pixels | Same quality, smaller print |
| Bicubic resampling | Stretches and blurs pixels | Soft, mushy output |
| AI upscaling | Generates new detail pixels | Sharp, detailed enlargement |
With AI upscaling, a 1000×750 image becomes 4000×3000 — that's enough for a 13.3×10 inch print at 300 DPI with genuine detail in every pixel.

Try It Yourself
Upload your image and see the AI enhancement in action. Start with 10 free credits.
How to Increase DPI Step by Step
Follow these steps to increase your image's DPI the right way:
Step 1: Check Your Current Resolution
Before upscaling, know what you're working with. Right-click your image file and check properties:
- Windows: Right-click → Properties → Details tab
- Mac: Open in Preview → Tools → Show Inspector
- Online: Upload to our free upscaler — it shows dimensions automatically
Step 2: Calculate the DPI You Need
Use this formula:
Required pixels = Print size (inches) × DPI
Examples:
- 4×6 inch photo at 300 DPI = 1200×1800 pixels
- 8×10 inch print at 300 DPI = 2400×3000 pixels
- 24×36 inch poster at 150 DPI = 3600×5400 pixels
- A4 page (8.27×11.69 inches) at 300 DPI = 2481×3507 pixels
If your image has fewer pixels than the target, you need to upscale.
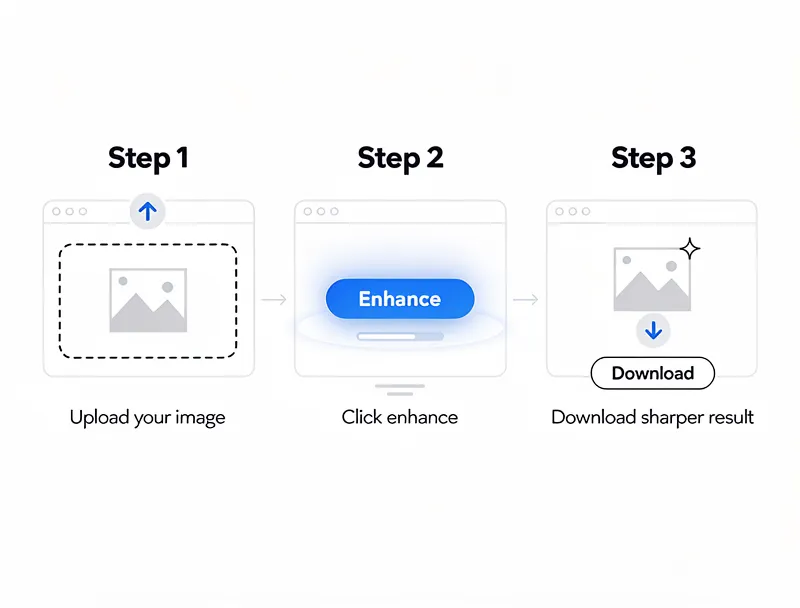
Step 3: Upscale with AI
- Go to MyImageUpscaler
- Upload your image (supports JPEG, PNG, WebP, HEIC, AVIF, TIFF, BMP)
- Select your upscale factor (2x or 4x)
- Download the high-resolution result
The AI adds real detail — sharpening edges, reconstructing textures, and enhancing fine features that simple resizing destroys.
Step 4: Verify the Output
After upscaling, check that:
- The new resolution meets your target DPI at the desired print size
- Details look sharp when zoomed to 100%
- Text is readable (if your image contains any)
- Colors remain accurate
DPI Requirements by Use Case
Different outputs need different DPI targets:
| Use Case | Minimum DPI | Recommended DPI | Why |
|---|---|---|---|
| Web/social media | 72 | 72-96 | Screens use pixels, not DPI |
| Office documents | 150 | 200 | Laser printers handle well |
| Photo prints (4×6 to 8×10) | 240 | 300 | Standard photo lab requirement |
| Business cards | 300 | 350 | Small size demands crisp detail |
| Magazine/book printing | 300 | 300-350 | Professional CMYK printing |
| Large posters (24×36+) | 100 | 150 | Viewed from distance |
| Billboard | 30 | 50 | Viewed from far away |
| Fine art reproduction | 360 | 600 | Maximum detail preservation |
Common DPI Mistakes to Avoid
Mistake 1: Setting DPI to 300 without adding pixels. This only changes how the printer interprets the file. Your 1000-pixel-wide image at 300 DPI prints at just 3.3 inches wide.
Mistake 2: Upscaling too much. Going from 500×500 to 8000×8000 (16x) pushes AI beyond its limits. Stick to 2x-4x upscaling for best results. For extreme enlargements, upscale in multiple passes.
Mistake 3: Using the wrong format. Save upscaled images as PNG or TIFF for print — not JPEG. JPEG compression destroys the fine detail your AI upscaler just created.
Mistake 4: Ignoring the source quality. A heavily compressed JPEG with visible artifacts will upscale poorly. Start with the highest quality source you have.
Mistake 5: Confusing DPI with PPI. DPI (dots per inch) is for printers. PPI (pixels per inch) is for screens. For all practical purposes when preparing images, they're used interchangeably — but technically they're different measurements.
DPI for Different Image Formats
Not all formats handle DPI metadata the same way:
- JPEG: Stores DPI in EXIF data. Most widely supported.
- PNG: Stores PPI in the image header. Some older tools may not read it.
- TIFF: Full DPI/PPI metadata support. Best for print workflows.
- WebP: Limited DPI metadata. Better for web than print use.
- HEIC: iPhone default. Contains DPI data but may need conversion before printing.
- AVIF: Next-gen format. DPI support varies by software.
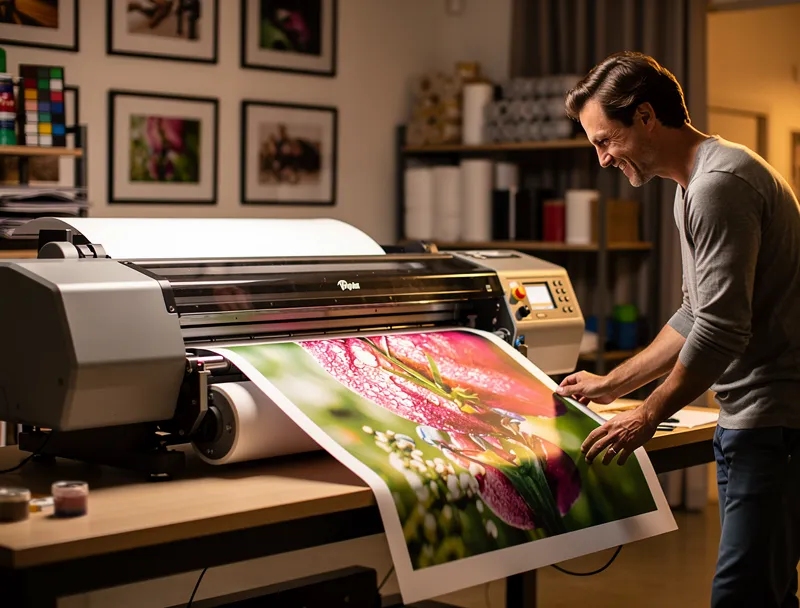
For print jobs, export your final upscaled image as TIFF or high-quality JPEG at 300 DPI.
See the Difference
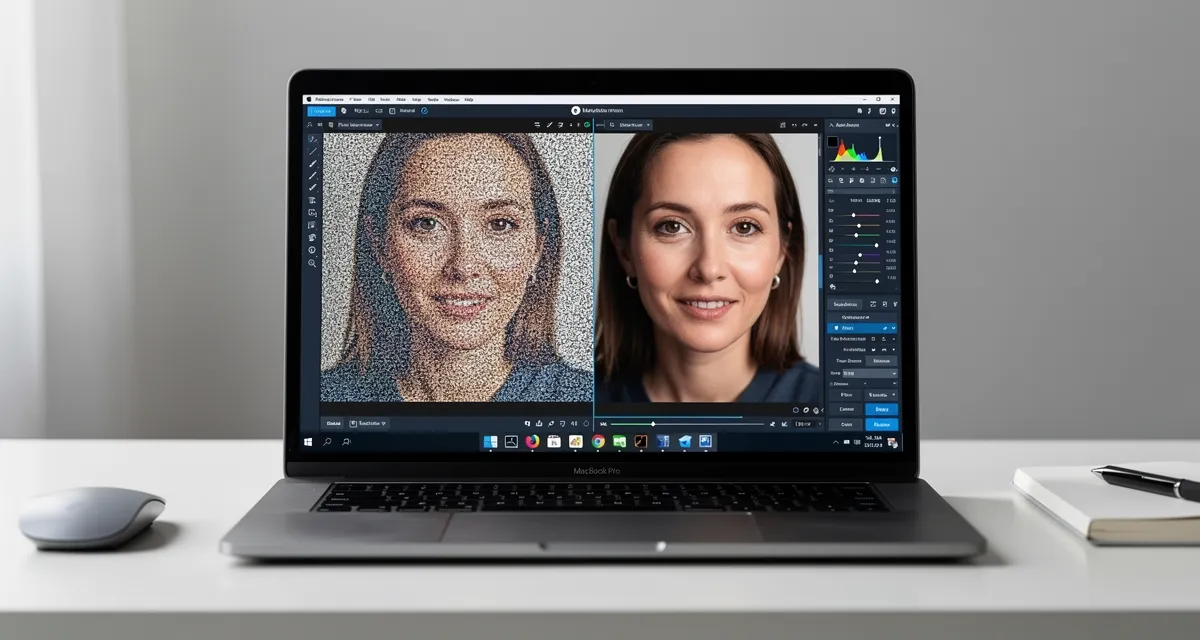
Experience crystal-clear upscaling that preserves text, logos, and fine details.
Conclusion
Increasing the DPI of an image isn't about changing a number in a dialog box. It's about adding enough real pixels so your image prints at 300 DPI at the size you need. AI upscaling is the only method that adds genuine detail instead of blurry interpolation.
Increase your image DPI for free — upload, upscale, and download in seconds. No signup required.
Frequently Asked Questions
How do I increase DPI from 72 to 300?
You need to add more pixels. A 1000×750 image at 72 DPI needs to become 4167×3125 to print at the same physical size at 300 DPI. Use AI upscaling to add those pixels with real detail — don't just change the DPI number.
Does increasing DPI improve image quality?
Changing the DPI tag alone does not improve quality. To actually improve quality, you need to increase the pixel count using AI upscaling, which generates real new detail rather than stretching existing pixels.
What DPI should I use for printing photos?
300 DPI is the standard for photo prints up to 13×19 inches. For large posters (24×36+), you can use 150 DPI since they're viewed from further away. For fine art, use 360-600 DPI.
Can I increase DPI without losing quality?
Yes — AI upscaling is designed exactly for this. Traditional resampling methods (bicubic, bilinear) cause blurring, but AI models predict and generate sharp detail that wasn't in the original image.
What's the difference between DPI and resolution?
Resolution is the total pixel count of your image (e.g., 3000×2000). DPI tells the printer how densely to arrange those pixels on paper. Same resolution at different DPI values gives different physical print sizes — but identical digital quality.

Reviewed byJoao Furtado
AI Image Upscaling Specialist
Joao is the founder of MyImageUpscaler and an AI image upscaling specialist. He tests every guide against real upscaling workflows — comparing model outputs, evaluating sharpness and artifact tradeoffs, and validating tool recommendations before publication.
- AI image upscaling
- Model comparison
- Photo restoration
- E-commerce image prep

![Upscale Image Online Free — No Sign Up, No Watermarks [2026]](https://xqysaylskffsfwunczbd.supabase.co/storage/v1/object/public/blog-images/2026/02/1771797822106-featured-online-upscaler.webp)