
![How to Upscale Images for Canva: Get Print-Ready Designs [2026]](https://xqysaylskffsfwunczbd.supabase.co/storage/v1/object/public/blog-images/2026/03/1772661837632-blog-featured.webp)
How to Upscale Images for Canva: Get Print-Ready Designs [2026]
You found the perfect image for your Canva design. You drag it in — and it looks terrible. Pixelated, blurry, too small to fill the canvas. Sound familiar?
Here's the fix: upscale your images before you import them into Canva. It takes 30 seconds and the difference is night and day.
Why Images Look Blurry in Canva
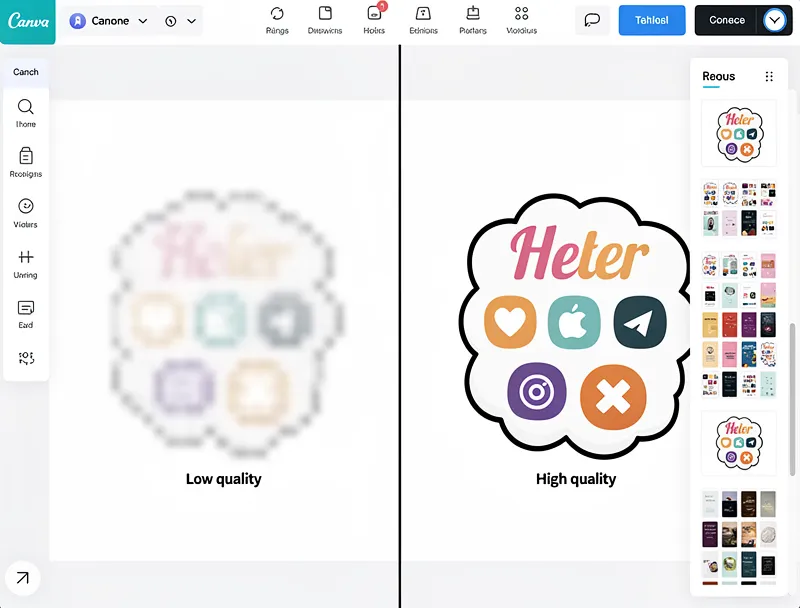
Canva does not increase image resolution. When you stretch a 400×300px photo to fill an A4 poster, Canva just stretches the existing pixels — and you end up with a blurry mess.
The problem is resolution. Most images you download from the web are 72 DPI (screen resolution). Print requires 300 DPI. That's a 4x difference in pixel density.
If your image is 800×600px and you need it to fill a 3000×2000px canvas area, you need to upscale it — ideally before uploading to Canva, not after.
What Canva Recommends (And Why It's Not Enough)
Canva's official guidance is to use images at least 1000px on the shortest side for print projects. For posters, presentations, and social media, they suggest 1920×1080px or higher.
But recommendations alone do not solve the problem when your source image is small or low-quality. That's where AI upscaling comes in.
How AI Upscaling Works
Traditional photo editors like Photoshop use interpolation — they guess what pixels should go between the existing ones. The result is soft, often mushy images.
AI upscaling is different. It uses neural networks trained on millions of image pairs to actually reconstruct detail. Instead of guessing, the AI recognizes patterns — textures, edges, fine details — and generates realistic pixels that make your image genuinely sharper.
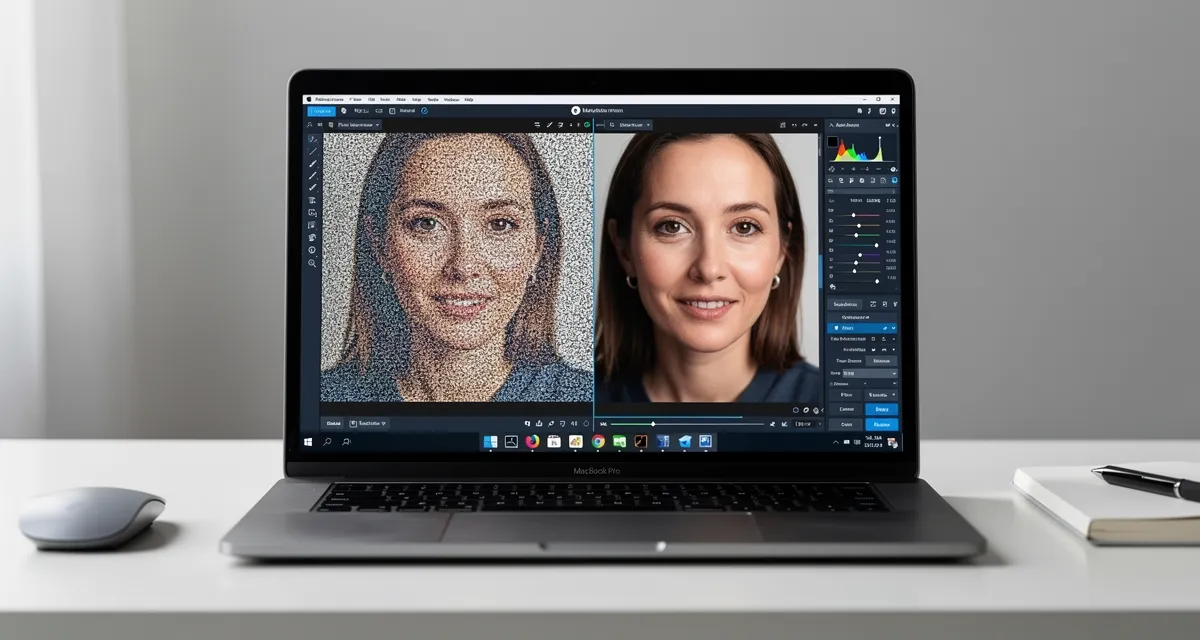
The difference is visible even at 100% zoom. You get crisper edges, real texture, and detail that looks like it was always there.

Try It Yourself
Upload your image and see the AI enhancement in action. Start with 5 free credits.
The Right Workflow: Upscale First, Then Import to Canva
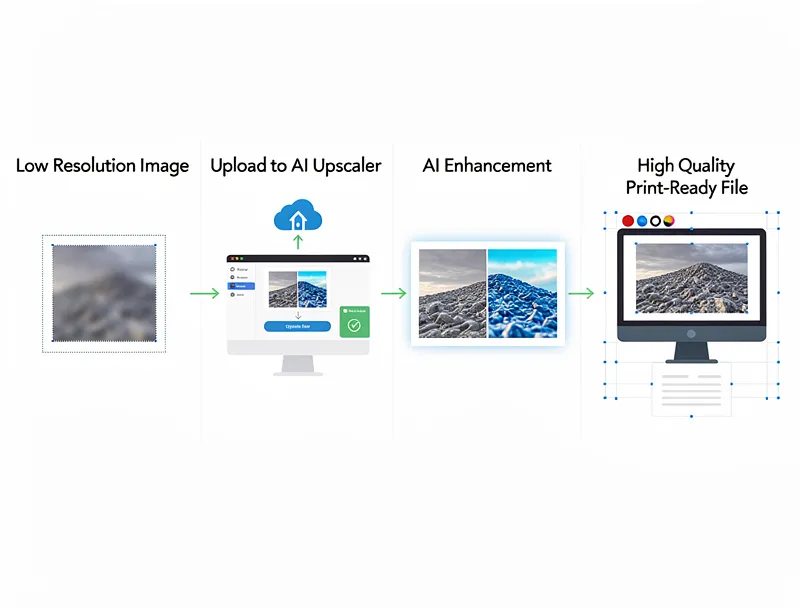
Here's the exact workflow to get sharp images in Canva every time:
Step 1: Determine your target resolution
In Canva, check your design size. For a standard A4 document at 300 DPI, you need at least 2480×3508px. For a Facebook post, 1200×628px is enough. For a large banner, you may need 3000px or more on the short side.
Step 2: Identify how much you need to upscale
If your image is 800×600px and you need 2400×1800px, you need a 3x upscale. Most AI upscalers offer 2x, 4x, and sometimes 8x upscaling.
Step 3: Upload to an AI upscaler
Upload your image to MyImageUpscaler, select your upscale factor, and download the result. The whole process takes under 30 seconds for most images.
Step 4: Download and import the upscaled version into Canva
Import the upscaled file into Canva. You'll notice immediately it fills the canvas without blurring, and the "low resolution" warning disappears.
Which Images Benefit Most from Upscaling
Product photos: E-commerce images are often compressed aggressively. Upscaling before using them in Canva layouts restores the fine detail that compression strips away.
Logos: Vector logos scale perfectly, but if you only have a PNG version of your logo, upscaling it 4x before importing prevents the blurry-edge problem on large designs. Check our guide on upscaling logos without losing quality.
Old or scanned photos: Low-resolution scans and old digital photos look stunning after AI upscaling. Great for creating photo books, collages, and memory books in Canva.
Stock images: Free stock photos are often lower resolution. Upscaling them makes them usable even at large print sizes.
Screenshots: App screenshots, web screenshots, and UI captures are notoriously low-res when you need them for presentations or case studies.
Recommended Upscale Factors by Canva Design Type
| Canva Design | Minimum Size | Recommended Upscale Factor |
|---|---|---|
| Instagram Post (1080×1080) | 1000×1000px | 2x |
| Facebook Banner (820×312) | 800×300px | 2x |
| A4 Poster (2480×3508px at 300DPI) | 1000×1400px | 4x |
| Business Card (3.5×2in at 300DPI) | 600×340px | 2x |
| Large Banner (6000×2000px) | 1500×500px | 4x |
| Presentation (1920×1080px) | 1000×563px | 2x |
See the Difference
Experience crystal-clear upscaling that preserves text, logos, and fine details.
Tips for the Best Results in Canva After Upscaling
Use PNG for images with transparency: If your image has a transparent background, export as PNG, not JPEG. JPEG does not support transparency and will add a white or black background.
Match your export settings to your design: When exporting your final Canva design for print, select "PDF Print" for physical prints. Canva uses 300 DPI in this mode.
Check the Canva quality indicator: In your Canva design, click on a placed image. If you see a pixelation warning icon, the image is still too small. Upscale again with a higher factor.
Upscale before cropping: If you need to crop the image, upscale first, then crop. Upscaling a pre-cropped image gives the AI more to work with and better results.
Free vs Paid Upscaling for Canva Projects
MyImageUpscaler offers 10 free credits on signup — no credit card required. Each upscale uses one credit. For occasional Canva projects, the free credits cover you. For agencies or frequent designers, paid plans give you more monthly credits.
The free tier is plenty to test the quality difference before committing. Most designers are surprised at how sharp their images look after a 4x AI upscale — especially on print materials.
For PNG and JPEG formats, the upscaler handles both seamlessly. If you're working with WebP images exported from Figma or other design tools, those work too. Canva projects that need print preparation particularly benefit from AI upscaling since the resolution requirements are much stricter than screen designs.
Conclusion
Blurry images in Canva almost always come down to resolution. The fix is simple: upscale your images with AI before importing them.
Try MyImageUpscaler free — upload your image, pick 2x or 4x, download the result, and import it into Canva. No signup required to test it.
Your Canva designs will look significantly sharper, your print materials will turn out professional, and you will stop seeing that pixelation warning icon for good.
Frequently Asked Questions
Does Canva have a built-in upscaler? Canva has a basic image enhancement feature, but it does not perform true AI upscaling. For significant resolution improvements (2x–4x), you need a dedicated AI upscaler before importing.
What resolution does Canva need for print? Canva recommends 300 DPI for print. For A4 at 300 DPI, that is 2480×3508 pixels. For A3, that is 3508×4961 pixels.
Can I upscale images already placed in Canva? You cannot upscale inside Canva directly. You need to download the image, upscale it externally with an AI tool, then re-upload it to Canva.
Will upscaling fix a JPEG that looks compressed? Yes. AI upscaling removes JPEG compression artifacts and restores edge sharpness. The result looks noticeably cleaner than the compressed original.
How many times can I upscale an image? You can upscale multiple times, but diminishing returns set in. A single high-factor upscale (4x) is usually better than two 2x upscales. Start with 4x if you need large print resolution.
Frequently Asked Questions
Quick answers for this guide
How do I upscale images for canva get print ready designs []?+
Fix blurry images in Canva with AI upscaling. Learn the exact workflow to get print-ready designs at 300 DPI. Free tool, no signup required — try now. Start with the highest-quality source file available, choose the smallest upscale factor that meets your target size, and inspect the result at 100% before publishing or printing.
When should I use AI upscaling for this workflow?+
Use AI upscaling when the original image is too small for the target use case but still has enough detail to guide the model. For guides work, pay closest attention to source image quality, upscale settings, output dimensions, and final visual inspection, especially upscale, AI, tutorial.
How do I avoid losing quality after upscaling?+
Upscale once from the best original, avoid repeated compression, keep important text and edges sharp, and export in a format that matches the final use. If the output shows halos, smeared texture, or distorted text, reduce the upscale factor or use a cleaner source image.

Reviewed byJoao Furtado
AI Image Upscaling Specialist
Joao is the founder of MyImageUpscaler and an AI image upscaling specialist. He tests every guide against real upscaling workflows — comparing model outputs, evaluating sharpness and artifact tradeoffs, and validating tool recommendations before publication.
- AI image upscaling
- Model comparison
- Photo restoration
- E-commerce image prep
![Upscale Image Online Free — No Sign Up, No Watermarks [2026]](https://xqysaylskffsfwunczbd.supabase.co/storage/v1/object/public/blog-images/2026/02/1771797822106-featured-online-upscaler.webp)