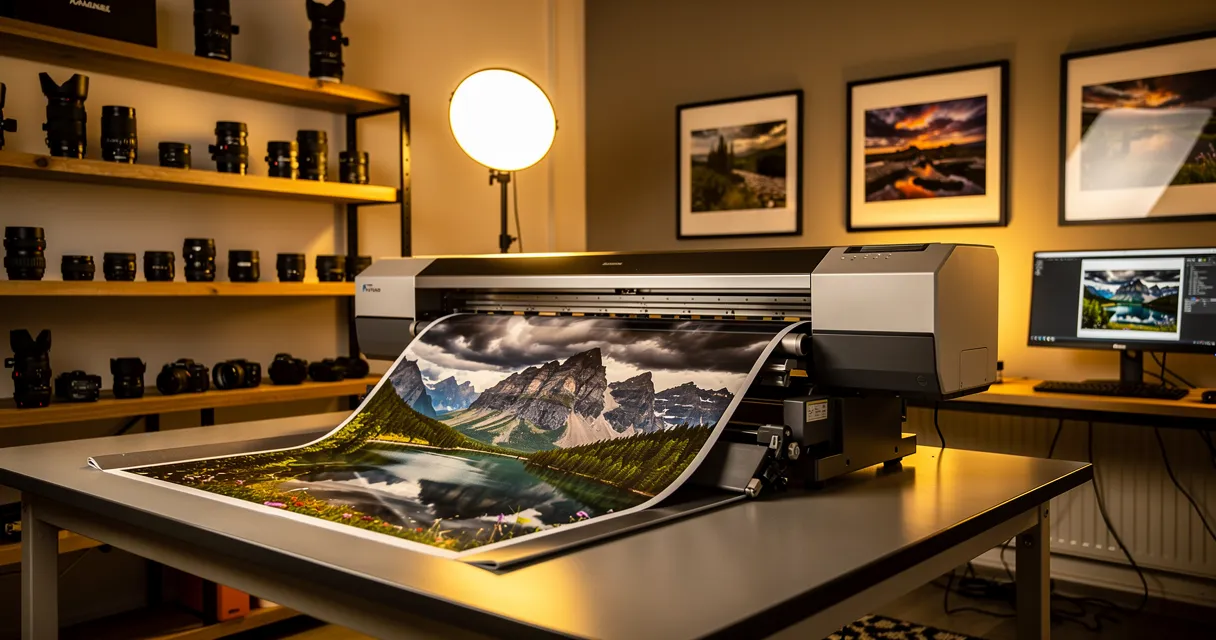
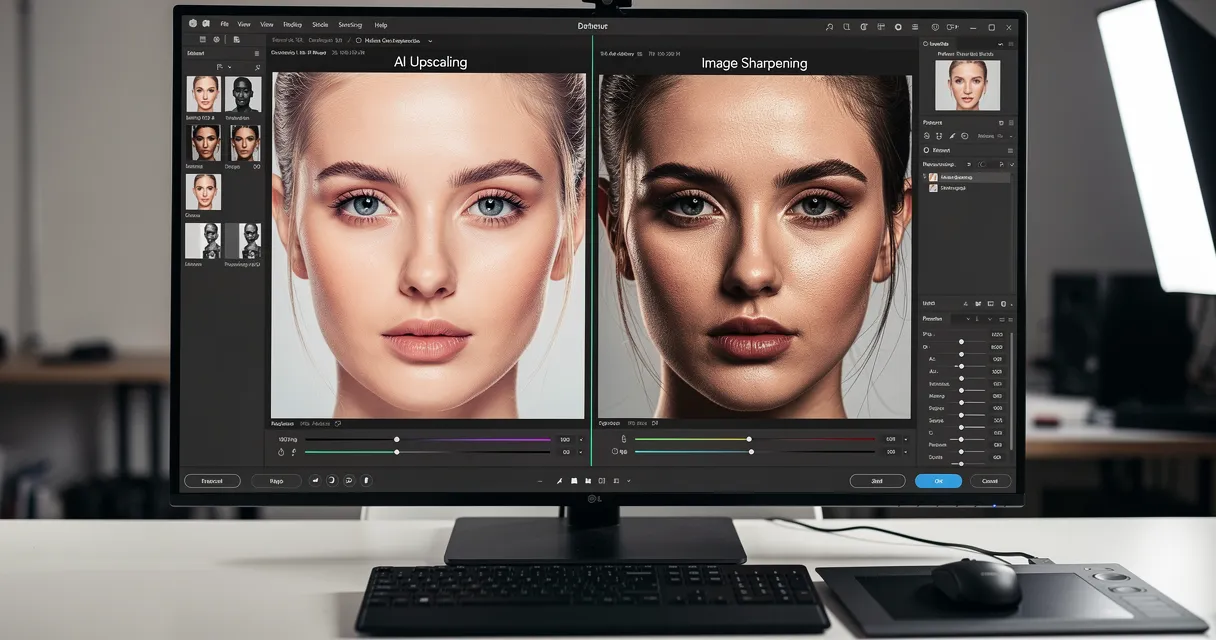
For a 24x36 poster, use 7200 x 10800 pixels at 300 DPI. If the poster will be viewed from several feet away, 3600 x 5400 pixels at 150 DPI can still print cleanly.
| 24x36 Poster Quality | Pixel Dimensions | Use This When |
|---|---|---|
| 150 DPI | 3600 x 5400 px | Event posters, wall art viewed from 4-6 feet away |
| 200 DPI | 4800 x 7200 px | Safer middle ground for semi-close viewing |
| 300 DPI | 7200 x 10800 px | Photo posters, retail prints, and close-viewed artwork |
Do you need to upscale? Compare your file dimensions to the row above. A 4000 x 3000 phone photo is enough for an 11x14 print at 300 DPI, but it is not enough for a sharp 24x36 poster. If either side is below the target pixel count, upscale the image before ordering the print.
Try the AI image upscaler for print if your image is smaller than the pixel chart below. Upscale first, then match the download to your target print size.

Try It Yourself
Upload your image and see the AI enhancement in action. Start with 10 free credits.
This guide gives you the exact poster size pixel dimensions, the DPI math, and the print-readiness checks to run before sending a file to the printer.
Your Guide to Poster Size Dimensions in Pixels
To determine if your image is large enough for a high-quality poster, you need two pieces of information: the final print size in inches and your target print quality (DPI).
For professional posters that people will view up close, you should aim for 300 DPI. If you are printing a large poster that will be seen from several feet away, 150 DPI is often sufficient. This relationship allows you to calculate the required pixel dimensions for your project.
The challenge is that many digital photos, even from modern cameras, are not large enough for big posters. For example, a 12-megapixel photo (approximately 4000x3000 pixels) will only produce a crisp 13x10 inch print at 300 DPI. To print a standard 24x36 inch poster, you will need a much larger image file.
Quick Reference Poster Dimensions and Pixels Chart
This chart shows the pixel dimensions required for common poster sizes at both standard and high quality.
| Poster Size (Inches) | 150 DPI Pixels | 200 DPI Pixels | 300 DPI Pixels |
|---|---|---|---|
| 11 x 17 inches | 1650 x 2550 px | 2200 x 3400 px | 3300 x 5100 px |
| 18 x 24 inches | 2700 x 3600 px | 3600 x 4800 px | 5400 x 7200 px |
| 24 x 36 inches | 3600 x 5400 px | 4800 x 7200 px | 7200 x 10800 px |
| A2 (16.5 x 23.4 in) | 2475 x 3510 px | 3300 x 4680 px | 4950 x 7020 px |
| A1 (23.4 x 33.1 in) | 3510 x 4965 px | 4680 x 6620 px | 7020 x 9930 px |
Use these numbers as a checklist. If your image's pixel dimensions are smaller than the row for your target size, you need to upscale before printing. The fastest path is simple: check your file dimensions, choose the poster row, then run the file through the AI image upscaler if it falls short.
This principle applies to all image use cases. For example, getting the correct resolution is also critical for e-commerce. You can learn more about finding the perfect Shopify image sizes for online stores. The core concept remains the same: match your pixel dimensions to the intended use.
Understanding DPI vs. PPI for Flawless Prints
To prepare an image for printing, you must understand two terms: DPI (Dots Per Inch) and PPI (Pixels Per Inch). They are often used interchangeably, but they refer to different things. Knowing the difference is necessary for producing a sharp, professional poster.
Think of it this way: your screen uses pixels (PPI), while your printer uses ink dots (DPI).
What PPI (Pixels Per Inch) Actually Means
Every digital image is a grid of tiny colored squares called pixels. PPI tells you how many of these pixels are displayed in one inch of a digital screen.
A higher PPI means more pixels are packed into the same area, which creates a sharper and more detailed image on a display. When you view an image on your computer, you are looking at its PPI. For example, a 1x1 inch digital image set at 100 PPI is made of a grid of 100 pixels wide by 100 pixels tall, for a total of 10,000 pixels.
What DPI (Dots Per Inch) Is
DPI refers to the physical dots of ink a printer applies to a piece of paper. It is a measure of print resolution, not digital resolution.
When you print, the printer translates the digital pixels (PPI) from your file into physical ink dots (DPI). Printers use multiple tiny dots of ink—typically cyan, magenta, yellow, and black (CMYK)—to replicate the color of a single pixel. A higher DPI setting means the printer uses more and smaller ink dots, resulting in a smoother, more detailed physical image.
The Only Math You Need for Print Size
The formula for determining if your image is large enough to print is straightforward.
(Width in Inches × Target DPI) = Required Width in Pixels (Height in Inches × Target DPI) = Required Height in Pixels
For example, to print a standard 18x24 inch poster at 300 DPI for high quality:
- Width: 18 inches × 300 DPI = 5400 pixels
- Height: 24 inches × 300 DPI = 7200 pixels
To get a sharp 18x24 inch poster, your digital image file must be at least 5400 x 7200 pixels. You can use this calculation to check if any image is ready for printing. For more detail, you can read our guide on what resolution is best for print.
Why Quality Standards Matter
The DPI you should aim for depends on the viewing distance of your poster. A lower DPI may be acceptable for a large banner viewed from across a street, but it will look pixelated up close.
| DPI Value | Print Quality | Best Use Case |
|---|---|---|
| 72-100 DPI | Screen/Web Quality | Not for printing. This is only for digital displays like websites and social media. |
| 150 DPI | Standard Quality | Good for large posters or banners that will be viewed from 6 feet or more away. |
| 300 DPI | High Quality | The industry standard for professional prints like photos, flyers, and posters viewed up close. |
| 600+ DPI | Fine Art Quality | Reserved for archival-quality prints and fine art reproductions where maximum detail is crucial. |
Choosing the right DPI is a balance between quality and file size. While 300 DPI is the benchmark for most posters, using 150 DPI can be a practical choice if your original image is not large enough and the print will be viewed from a distance.
Comprehensive Poster Pixel Dimension Charts
To ensure your poster looks as good on paper as it does on your screen, you must get the pixel dimensions right. The more dots of ink a printer uses per inch (DPI), the sharper the final image will be. To do this, the printer requires more pixels from your original file. A higher DPI setting requires a significantly larger image, which is a common challenge in large-format printing.
The difference between a low-resolution and high-resolution print is stark. It is the difference between a blurry image and professional quality.

As you can see, increasing the resolution from 150 DPI to 300 DPI removes pixelation and creates the crisp, clean finish required for professional prints.
Here are the specific pixel dimensions you need for common poster sizes.
Standard US Poster Size Dimensions in Pixels
These are the most common poster sizes in the United States. The 24x36 inch poster is a classic size, and to print it at the 300 DPI standard, your file needs to be 7200x10800 pixels.
| Poster Size (Inches) | 150 DPI Pixels (Standard) | 300 DPI Pixels (High Quality) | 600 DPI Pixels (Fine Art) |
|---|---|---|---|
| 11 x 17 | 1650 x 2550 | 3300 x 5100 | 6600 x 10200 |
| 18 x 24 | 2700 x 3600 | 5400 x 7200 | 10800 x 14400 |
| 24 x 36 | 3600 x 5400 | 7200 x 10800 | 14400 x 21600 |
Note the significant increase in pixel count from 300 DPI to 600 DPI. For a 24x36 inch poster, the total pixel count quadruples from 77.7 megapixels to 311 megapixels. This level of resolution is typically reserved for fine art prints intended for close inspection.
International 'A' Series Poster Size Dimensions in Pixels
The 'A' series, part of the ISO 216 standard, is used in most countries outside of North America. Its consistent aspect ratio simplifies scaling designs. If you are printing for an international audience, you should be familiar with common UK poster sizes and their dimensions.
| Poster Size (ISO 'A') | 150 DPI Pixels (Standard) | 300 DPI Pixels (High Quality) | 600 DPI Pixels (Fine Art) |
|---|---|---|---|
| A3 (11.7 x 16.5 in) | 1755 x 2475 | 3510 x 4950 | 7020 x 9900 |
| A2 (16.5 x 23.4 in) | 2475 x 3510 | 4950 x 7020 | 9900 x 14040 |
| A1 (23.4 x 33.1 in) | 3510 x 4965 | 7020 x 9930 | 14040 x 19860 |
Use these charts to verify your file dimensions. Before sending anything to a printer, check your image's pixel count against these numbers. If your file is smaller than what is required for your target size and quality, you will need to increase its resolution to avoid a pixelated result.
What To Do When Your Image Is Too Small
You have calculated the required poster size dimensions pixels for your print, but your source image does not have enough pixels. This is a very common problem. Your first instinct might be to simply enlarge the image in a photo editor, but this will result in a blurry, low-quality image.
Traditional resizing methods just stretch the existing pixels, which creates digital "artifacts" and a soft, unprofessional look. To enlarge an image without losing quality, you need a more advanced approach.

Why AI Upscaling Is the Modern Solution
Instead of stretching old pixels, modern AI image upscalers create new, realistic pixels to fill in the missing information. They intelligently add detail where none existed by using sophisticated AI models to generate a high-resolution version of your photo.
This technology allows you to significantly increase an image's resolution while preserving and often enhancing the details needed for a crisp, professional print. For anyone needing to turn a small photo into a large poster, AI upscaling is the most effective method available.
How AI Upscalers Work
Many advanced upscalers use a technology called Generative Adversarial Networks (GANs). This approach uses two AIs that compete against each other to improve the final result.
- The Generator: This AI performs the upscaling. It creates new pixels and attempts to make the enlarged image look as realistic as possible.
- The Discriminator: This AI acts as a critic. It examines the Generator's output and determines if it looks "real" or "fake" by comparing it to a massive database of actual high-resolution photos.
This competitive process forces the Generator to become extremely effective at creating convincing, detailed enlargements. Other AI techniques like super-resolution and diffusion models also analyze an image and intelligently predict what the missing high-resolution details should be. To learn more, read our guide on how to enlarge a photo without losing quality.
How MyImageUpscaler Solves This Problem
MyImageUpscaler is a web-based tool that uses these AI techniques to prepare your images for large-format printing. Because it runs in your browser, there is no software to install.
You upload your image, and our AI generates a larger version with enhanced detail and clarity. Our tool can enlarge images by 4x or 8x, giving you more than enough pixels for a high-quality poster. For instance, a 4x upscale of a 1800 x 2700 pixel image results in a 7200 x 10800 pixel file—large enough for a sharp 24x36 inch poster at 300 DPI.
Comparison of Upscaling Methods
| Feature | Traditional Resizing (e.g., Photoshop "Image Size") | AI Upscaling (e.g., MyImageUpscaler) |
|---|---|---|
| Method | Stretches existing pixels using mathematical interpolation. | Generates new, context-aware pixels using trained AI models. |
| Result Quality | Often blurry, soft, or pixelated, with a loss of detail. | Sharp, detailed, and clear, with reconstructed textures. |
| Best For | Minor size adjustments (e.g., 10-20% increase). | Significant enlargements (2x, 4x, 8x or more). |
| Detail Preservation | Poor; fine details like hair and fabric texture become fuzzy. | Excellent; AI is trained to reconstruct and enhance fine details. |
It is important to have realistic expectations. AI is an enhancer, not a magician. It cannot create critical details from a source file that is extremely small or blurry. The best results come from source images that are clear but simply too small for your printing needs.
The most effective way to see the benefit is to test it yourself. You can get started with 10 free credits to see the results on your own images.
See the Difference
Experience crystal-clear upscaling that preserves text, logos, and fine details.
Before sending the file to print, upload a copy to the upscaler, choose the smallest scale that clears your target pixel dimensions, and check the result at 100% zoom.
How to Prepare Your Image for Printing: Step-by-Step
You have your image and know the required pixel dimensions. Now, you must prepare the digital file for a physical print shop. Following a clear workflow helps prevent common issues like incorrect colors and pixelated results.
1. Calculate Your Required Pixel Dimensions
First, determine your target. Use the poster pixel dimension charts in this guide to find the exact width and height in pixels your image needs to be. For example, if you are printing a high-quality 18x24 inch poster, your target is 5400x7200 pixels. Having this specific goal is the most important step.
2. Upscale Your Image with AI if Necessary
Compare your original image’s dimensions to your target. If your image is smaller, you need to upscale it. Simply resizing it in a standard photo editor will not work; this only stretches existing pixels and leads to a blurry print. To achieve the required poster size dimensions pixels, you need to generate new pixel data.
This is what MyImageUpscaler is designed for. As a web-based tool, it works directly in your browser with no installation needed. Upload your image, and our AI will intelligently enlarge it, enhancing details rather than just stretching them. To prepare your image for an 18x24 inch print, you can use our tool to upscale it by 4x or 8x, easily meeting the 5400x7200 pixel requirement. You can sign up for a free account and get 10 credits to test it. If your image is already large enough, proceed to the next step.
3. Set Up Bleed, Trim, and Safe Areas
Printers cannot print perfectly to the edge of the paper. To avoid a thin white border on your final poster, you must add a bleed. A bleed is an extra margin (usually 0.125 inches or 3mm) that extends beyond the final cut line.
- Bleed Area: The outermost part of your image that will be trimmed off. Your background must extend all the way through this area.
- Trim Line: The intended edge where the poster will be cut to its final size.
- Safe Area: An inner margin, typically another 0.125 inches inside the trim line. Keep all important text, logos, and faces within this area to ensure they are not cut off.
Always confirm the specific bleed requirements with your print shop, as they can vary. A proper bleed is essential for a professional finish.
4. Convert to the Correct Color Profile
Your computer screen and a printer handle color differently. Screens use the RGB (Red, Green, Blue) color model, which adds light to create color. Printers use the CMYK (Cyan, Magenta, Yellow, Key/Black) model, which subtracts light with ink.
If you send an RGB file to a print shop, the printed colors may appear dull or inaccurate. To ensure the colors on your screen match the final print, you must convert your image to a CMYK color profile before exporting. Most professional photo editing software can perform this conversion.
5. Export a Print-Ready File
The final step is to save your prepared image in a format suitable for professional printing. The two best formats are:
- High-Quality PDF: This is often the preferred format. It bundles your image, color profile, and bleed settings into a single, reliable file.
- TIFF (Tagged Image File Format): This is a lossless format that preserves maximum image quality without discarding data through compression.
Avoid using JPEG for final printing unless specifically requested by your printer. JPEG is a "lossy" format that reduces file size by discarding image data, which can degrade print quality. Always choose a high-quality, lossless format for the best results.
For a more detailed walkthrough, see our full guide on how to upscale an image for 300 DPI printing.
Frequently Asked Questions About Poster Printing
Here are answers to common questions about preparing posters for print.
What is the best resolution for a poster?
The best resolution depends on the viewing distance. The two most common standards are 150 DPI and 300 DPI.
| Standard | Recommended Use |
|---|---|
| 300 DPI | For posters viewed up close (e.g., art prints, informational posters). This is the industry standard for high-quality printing and ensures sharp text and images. |
| 150 DPI | For large posters viewed from a distance (e.g., banners, event signage). This is a practical choice that keeps file sizes manageable while still looking good from several feet away. |
While 300 DPI provides superior quality, it requires an image with a very high pixel count. You should always use the highest resolution your source image can support.
Can I just increase the DPI in Photoshop?
No. Changing the DPI value in a program like Photoshop without resampling the image does not improve its quality. This action only changes the metadata, which instructs the printer on how large to make each pixel. It does not add any new detail. If your image is too small, it will still print as a blurry, pixelated image regardless of the DPI setting you assign.
To truly prepare an undersized image for printing, you must generate new pixel data. This is where AI upscalers are essential. While basic software just stretches existing pixels, an AI upscaler analyzes the image and creates new, convincing details to produce a genuinely higher-resolution file.
How does MyImageUpscaler handle text and logos?
This is a critical consideration for printing marketing materials. Traditional resizing methods often make sharp lines in text and logos appear soft and blurry. The AI models used by MyImageUpscaler are trained to recognize and preserve these elements. The system identifies the clean edges that define text and graphics and works to reconstruct them during the upscaling process. This avoids the fuzzy artifacts common with other tools, making it ideal for preparing logos, flyers, and other branded assets for high-resolution printing. As a web-based tool, MyImageUpscaler requires no installation.
What is the difference between a 24x36 poster and an A1 poster?
While close in size, they are not the same. A 24x36 inch poster and an A1 poster belong to two different standard sizing systems. Confusing them will compromise your design.
| Size Standard | Dimensions (Inches) | Dimensions (Millimeters) | Common Region |
|---|---|---|---|
| US Standard | 24 x 36 inches | 609.6 x 914.4 mm | United States |
| ISO 'A' Series | 23.4 x 33.1 inches | 594 x 841 mm | International (Europe, Asia, etc.) |
The 24x36 poster is slightly wider and noticeably taller than an A1. Always confirm which size your print shop uses before you begin your design. If you create a 24x36 design but the printer uses A1 paper, parts of your image will be cropped, or you will have unprinted white borders.
Ready to ensure your poster prints perfectly? MyImageUpscaler is a web-based tool that requires no installation. It uses advanced AI to increase your image's resolution, ensuring it has the correct poster size dimensions pixels for a sharp, professional print. You can test it on your own images and see the results for yourself. Get started with 10 free credits now at MyImageUpscaler.com.

Reviewed byJoao Furtado
AI Image Upscaling Specialist
Joao is the founder of MyImageUpscaler and an AI image upscaling specialist. He tests every guide against real upscaling workflows — comparing model outputs, evaluating sharpness and artifact tradeoffs, and validating tool recommendations before publication.
- AI image upscaling
- Model comparison
- Photo restoration
- E-commerce image prep