

![How to Upscale Images for Large Format Printing [2026]](https://xqysaylskffsfwunczbd.supabase.co/storage/v1/object/public/blog-images/2026/01/1769886855090-print-featured.webp)
Upscale Images for Print: Complete Guide to High-Quality Prints
You want to print a photo. Maybe a wedding picture for the wall, a product image for packaging, or an old family photo you want to preserve. You upload it to the print service and get a warning: "Image resolution too low."
This guide shows you how to prepare any image for quality printing.
Understanding Print Resolution
Print quality depends on having enough pixels. The standard is 300 DPI (dots per inch). At this density, individual pixels are invisible to the naked eye. The print looks smooth and sharp.
The Math
Pixels needed = Print size (inches) × 300
So for common print sizes:
| Print Size | Pixels Required |
|---|---|
| 4×6 inches | 1200×1800 |
| 5×7 inches | 1500×2100 |
| 8×10 inches | 2400×3000 |
| 11×14 inches | 3300×4200 |
| 16×20 inches | 4800×6000 |
| 20×24 inches | 6000×7200 |
| 24×36 inches | 7200×10800 |
When You Can Go Lower
Posters and large prints viewed from a distance can use lower DPI:
- 200 DPI: Acceptable for posters hung on walls
- 150 DPI: Minimum for large banners viewed from 3+ feet
- 100 DPI: Only for billboards and very large displays
But for anything you hold in your hands or view up close, stick to 300 DPI.
Checking Your Image Resolution
Before printing, check if your image has enough pixels.
On Windows: Right-click → Properties → Details → Dimensions
On Mac: Select file → Get Info → Dimensions
Calculate print size: Divide pixels by 300
A 3000×2000 pixel image prints at 10×6.67 inches at 300 DPI.
When Your Image Is Too Small
Most images are too small for the print size people want. Phone photos are fine for 8×10, but that vacation snapshot probably will not make a good 24×36 poster.
You have options:
Option 1: Print Smaller
Accept the resolution limits and print at the size your pixels support.
Option 2: Accept Lower Quality
Print larger at reduced DPI. A 3000×2000 image can print at 20×13 inches at 150 DPI. Quality drops but may be acceptable for wall art viewed from across the room.
Option 3: AI Upscaling (Best Option)
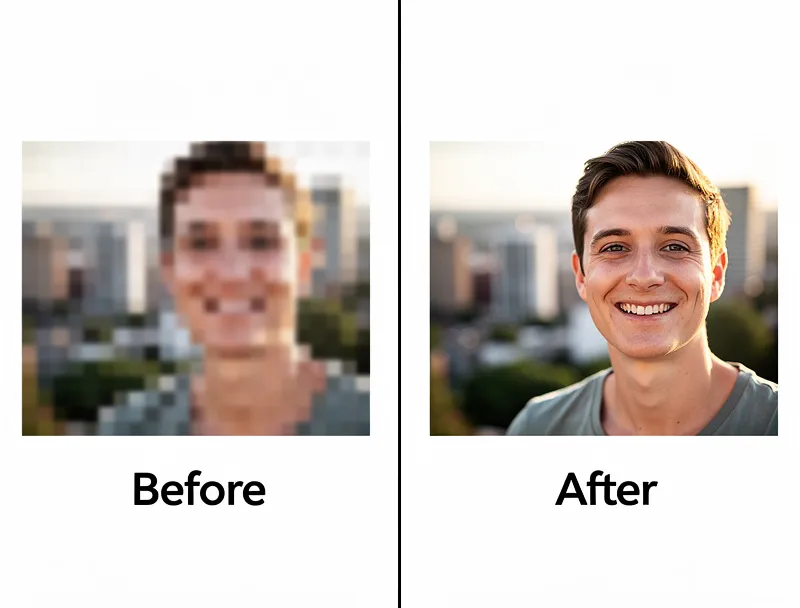
Use AI to add resolution. Our upscaler can increase image resolution 2x, 4x, or 8x while preserving detail.
A 2000×1500 image becomes:
- 2x: 4000×3000 (13×10" at 300 DPI)
- 4x: 8000×6000 (26×20" at 300 DPI)
- 8x: 16000×12000 (53×40" at 300 DPI)
Step-by-Step Print Preparation
Step 1: Find Your Best Source
Start with the highest quality version available:
- Original camera file over processed export
- PNG over JPEG when possible
- Cloud backup over compressed share version
Step 2: Calculate Required Resolution
Decide your print size. Multiply each dimension by 300.
Want a 16×20 print? You need 4800×6000 pixels.
Step 3: Upscale If Needed
If your image lacks sufficient pixels:
- Go to myimageupscaler.com
- Upload your image
- Select scale factor (2x, 4x, or 8x)
- Download the upscaled version
Choose the smallest scale factor that meets your needs. 2x is usually enough for doubling print size.
Step 4: Verify Colors
Printed colors differ from screen colors. Screens emit light; prints reflect it.
- Brighten shadows slightly (they print darker)
- Reduce saturation if colors look too vivid
- Check skin tones - they shift most noticeably
Professional print services offer soft proofing. Use it.
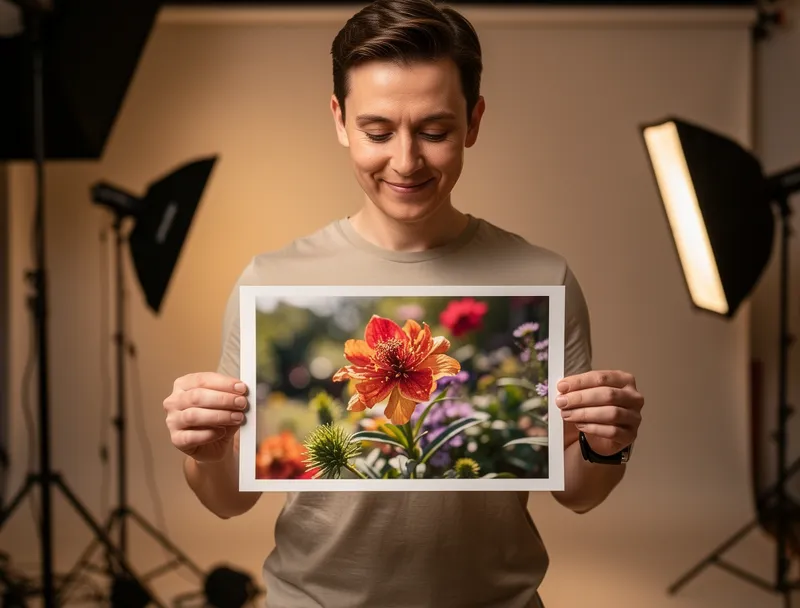
Step 5: Save Correctly
For print submission:
- Format: JPEG or TIFF (TIFF for highest quality)
- Color space: sRGB for consumer prints, Adobe RGB or CMYK for professional
- Quality: Maximum (100% for JPEG, no compression for TIFF)
Special Considerations
Canvas Prints
Canvas wrap prints need extra pixels at the edges. The image wraps around the frame sides.
Add 2-3 inches of bleed per side. A 16×20 canvas needs roughly 22×26 inches of image (6600×7800 pixels at 300 DPI).
Metal and Acrylic Prints
These show imperfections more than paper. You want extra resolution - 400 DPI or higher for best results on high-gloss surfaces.
Photo Books
Layflat pages that span two pages need seamless images. Provide images larger than the spread size and let the service crop.
Old Photos and Scans
Vintage photos benefit enormously from AI upscaling. Upload your scanned photo and upscale 4x to get crisp large prints from old snapshots.
For very old or damaged photos, combine upscaling with restoration services.
Common Print Problems (and Fixes)
Problem: Prints look pixelated
Cause: Not enough resolution
Fix: Upscale the image or print smaller
Problem: Colors look wrong
Cause: Color space mismatch
Fix: Convert to sRGB for consumer services, request color profiles for professional labs
Problem: Print is too dark
Cause: Screen brightness difference
Fix: Brighten the image 10-15% before printing, especially shadows
Problem: Edges got cut off
Cause: Aspect ratio mismatch
Fix: Crop to exact print dimensions before ordering
Print Service Recommendations
For Small Prints (under 11x14)
Drugstore and big-box retailers are fine for snapshots. Quality is acceptable and turnaround is fast.
For Large Prints (16x20 and up)
Use a dedicated print service. Better paper, better color accuracy, better handling of large formats.
For Art Prints and Portfolios
Use fine art print labs. They offer archival papers, museum-quality processes, and color calibration.
Preparing Different Image Types
Portraits
Faces are demanding. Any softness is immediately visible. Upscale to at least 300 DPI for the size you need, then verify eyes and skin look natural.
Landscapes
Landscapes are more forgiving. Fine detail in foliage and clouds is less critical than face detail. 200 DPI is often acceptable for large landscape prints.
Product Photos
Product images for packaging or displays need accurate colors and sharp edges. Upscale conservatively (2x max) to avoid artificial-looking results.
Text and Graphics
Logos and text need extremely sharp edges. 400+ DPI recommended. Keep scale factors low when upscaling text.
Final Checklist
Before sending to print:
- Resolution is 300 DPI or higher for the print size
- Aspect ratio matches print dimensions
- Colors checked and adjusted for print
- File saved at maximum quality
- Color space is appropriate (sRGB or as required)
- Bleed added for canvas/borderless prints
Get Started
If your image needs more resolution, upscale it now. It takes seconds and the quality improvement is significant. Then follow this guide to get professional-quality prints from any photo.
Frequently Asked Questions
Quick answers for this guide
How do I upscale images for large format printing []?+
Learn how to prepare and upscale images for professional printing. Get sharp, detailed prints from any photo. Step-by-step instructions included. Start with the highest-quality source file available, choose the smallest upscale factor that meets your target size, and inspect the result at 100% before publishing or printing.
When should I use AI upscaling for this workflow?+
Use AI upscaling when the original image is too small for the target use case but still has enough detail to guide the model. For guides work, pay closest attention to source image quality, upscale settings, output dimensions, and final visual inspection, especially prints, upscale, photo.
How do I avoid losing quality after upscaling?+
Upscale once from the best original, avoid repeated compression, keep important text and edges sharp, and export in a format that matches the final use. If the output shows halos, smeared texture, or distorted text, reduce the upscale factor or use a cleaner source image.

Reviewed byJoao Furtado
AI Image Upscaling Specialist
Joao is the founder of MyImageUpscaler and an AI image upscaling specialist. He tests every guide against real upscaling workflows — comparing model outputs, evaluating sharpness and artifact tradeoffs, and validating tool recommendations before publication.
- AI image upscaling
- Model comparison
- Photo restoration
- E-commerce image prep
![Upscale Image Online Free — No Sign Up, No Watermarks [2026]](https://xqysaylskffsfwunczbd.supabase.co/storage/v1/object/public/blog-images/2026/02/1771797822106-featured-online-upscaler.webp)