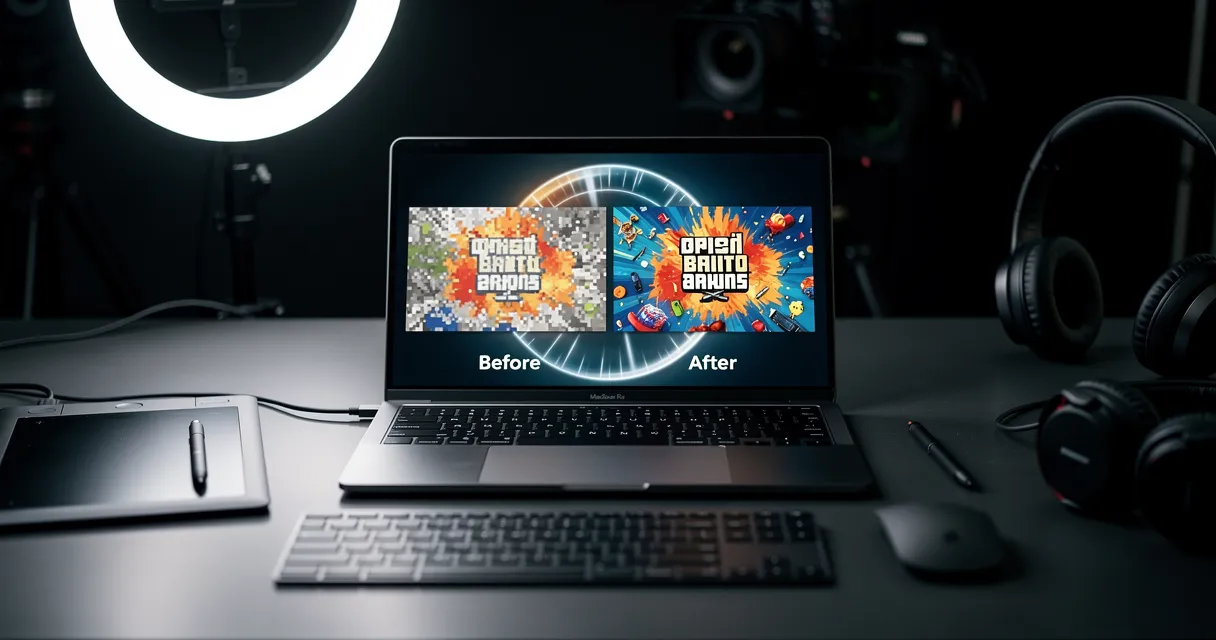
Changing your video's resolution is a necessary task, whether you need to shrink a large 4K file for social media or improve old, low-quality footage. You can accomplish this with free software like HandBrake, professional editors like Adobe Premiere Pro, or an AI-powered workflow.
The correct method depends on your goal. Reducing resolution (downscaling) is a different process than increasing it (upscaling).
What Is Video Resolution?
To change resolution effectively, you must first understand what it is. Video resolution is the number of pixels that compose the width and height of each frame in your video. A higher pixel count generally results in a sharper, more detailed image.

Common Resolution Terms Explained
You have likely seen terms like 720p, 1080p, and 4K. These are standard labels for specific pixel dimensions. For example, a 1080p video is 1920 pixels wide and 1080 pixels tall. The "p" stands for "progressive scan," which refers to how the image is displayed on a screen.
A 4K video, also known as Ultra HD (UHD), has a resolution of 3840 x 2160 pixels. This is four times the total number of pixels found in a 1080p video, which is why it can appear significantly more detailed.
The following table outlines common resolutions and their typical applications.
Common Video Resolutions and Their Use Cases
| Resolution | Dimensions (Pixels) | Common Name | Primary Use Case |
|---|---|---|---|
| 480p | 720x480 or 640x480 | Standard Definition (SD) | Legacy formats (DVDs), very low-bandwidth streaming. |
| 720p | 1280x720 | HD or "HD Ready" | Basic web video, streaming on small screens or with slow internet. |
| 1080p | 1920x1080 | Full HD (FHD) | The standard for most web content (YouTube, Vimeo) and Blu-rays. |
| 1440p | 2560x1440 | Quad HD (QHD) | High-end monitors, gaming, and detail-heavy online video. |
| 2160p | 3840x2160 | 4K or Ultra HD (UHD) | Modern TVs, streaming services (Netflix), and professional video. |
| 4320p | 7680x4320 | 8K | High-end displays, digital signage, and future-proofing archives. |
Each resolution has a specific purpose. You would not upload an 8K video to a platform that only supports 1080p, as the extra data provides no benefit and increases file size. This is why knowing how to change resolution is a critical skill for video creators.
Key Takeaway: Resolution is only one component of video quality. A high-resolution video can still appear poor if other factors, such as bitrate, are not set correctly.
Beyond Pixels: Bitrate and Aspect Ratio
While resolution is important, two other settings significantly impact your video's final appearance: bitrate and aspect ratio.
- Bitrate: This is the amount of data used to encode one second of video, typically measured in megabits per second (Mbps). It directly affects file size and visual quality. A 4K video with a low bitrate will look blocky and compressed because there is not enough data to represent the detail accurately.
- Aspect Ratio: This is the proportional relationship between the video's width and its height. The current standard is 16:9, which is used for TVs and most online video platforms. Older content may use a more square 4:3 ratio. Changing the resolution without maintaining the original aspect ratio will result in a stretched or squashed image.
Upscaling vs. Downscaling: What’s the Difference?
When you change a video's resolution, you are either upscaling or downscaling.
Downscaling means reducing the resolution, such as converting a 4K video to 1080p. This process is straightforward: the software discards excess pixels. It is an effective way to reduce file sizes for web streaming or social media, and quality generally remains high.
Upscaling is the process of increasing the resolution, such as converting a 480p video to 1080p. This is much more difficult. Traditional software simply stretches the existing pixels to fill the larger frame, which usually results in a blurry and indistinct image. This is a significant limitation.
Modern AI tools address this problem. Instead of stretching pixels, they analyze the video content and generate new pixels to create a sharper and more detailed result.
Choosing Your Method for Changing Video Resolution
There are several methods for changing a video's resolution. The best tool depends on your specific goal, technical skill, budget, and desired final quality.

Comparison of Video Resolution Changing Methods
The following table compares the most common methods to help you choose the right one for your task.
| Method | Ease of Use | Quality (Upscaling) | Cost | Best For |
|---|---|---|---|---|
| Free Converters (HandBrake) | Easy | Poor | Free | Downscaling single files for web or social media. |
| Command-Line (FFmpeg) | Difficult | Poor | Free | Technical users, developers, and batch processing. |
| Video Editors (Premiere Pro) | Moderate | Poor | Subscription | Editors working within an existing project. |
| AI Upscaling Workflow | Moderate | Excellent | Varies | Upscaling low-res footage for professional use. |
As the table shows, free tools like HandBrake are excellent for downscaling. However, for upscaling, traditional methods are inadequate because they cannot create new, convincing detail.
The AI-Powered Workflow Explained
For high-quality upscaling, an AI-powered workflow is the most effective approach. This process involves three main steps:
- Extracting the video into a sequence of individual image frames.
- Enhancing each frame using a specialized AI tool.
- Recompiling the enhanced frames back into a video file.
AI does not just stretch pixels; it analyzes the content and intelligently generates new detail. This is how you can transform a blurry 480p clip into a sharp 1080p video, restoring details that would otherwise be lost.
This is where a tool like MyImageUpscaler is particularly useful. As a web-based upscaler, it allows you to process thousands of frames without installing any software. Because it runs in your browser, you can begin enhancing your video frames immediately. MyImageUpscaler offers 10 free credits upon sign up, allowing you to test this workflow. The tool's flexible pricing makes it suitable for both small and large-scale projects.
While this workflow requires more effort than a one-click converter, the resulting quality for upscaled video is significantly better than any other method.
How to Downscale a Video (Step-by-Step)
When you have a high-resolution video, such as a 4K or 1080p file, it is often too large for web and social media platforms. Large files load slowly and consume significant data, which can be a poor user experience.
Downscaling—reducing the resolution—creates a smaller, web-friendly version. The following steps show you how to do this using HandBrake, a free and effective video transcoder.
1. Open Your Video in HandBrake
Launch HandBrake and drag your video file directly onto the main window. Alternatively, you can click the "File" button to browse and select your video. HandBrake will scan the file and display its technical details, including its current resolution and frame rate.
2. Select a Preset
HandBrake’s presets are pre-configured settings optimized for various platforms. They are an efficient way to get started. Navigate to the "Web" category for options suitable for online video.
- Vimeo YouTube HQ 1080p60: A good choice for maintaining a smooth 60fps frame rate at 1080p.
- Fast 1080p30: A balanced option for 1080p quality and file size.
- Fast 720p30: Ideal for downscaling to 720p, which loads quickly on mobile devices.
Select a preset that matches your target resolution. This will provide a solid baseline for your settings.
3. Adjust Video Dimensions
Click the "Dimensions" tab to set the final resolution. The preset will have made a suggestion, but you can override it here. To change a 1920x1080 video to 720p, for example, you would enter 1280 in the width field. As long as "Keep Aspect Ratio" is checked, HandBrake will automatically adjust the height to 720, preventing image distortion.
It is recommended to downscale to standard resolutions like 1080p (1920x1080) or 720p (1280x720). These standards ensure compatibility across most devices and platforms.
4. Set Video Quality or Bitrate
Navigate to the "Video" tab to control the final quality and file size. You have two main options: Constant Quality and Average Bitrate.
| Quality Setting | How It Works | Recommendation |
|---|---|---|
| Constant Quality | You set a Rate Factor (RF) value. Lower numbers (e.g., 18-20) result in higher quality and larger files. Higher numbers (e.g., 24-28) create smaller files with more compression. HandBrake suggests an RF of 20-24 for 1080p. | This is the recommended method for most web videos. It provides a good balance of quality and file size. Start with an RF value of 22 and adjust if necessary. |
| Average Bitrate | You specify an exact data rate in kilobits per second (kbps). This gives you a predictable file size but can cause quality to fluctuate. For 720p video, a bitrate between 2,000–4,000 kbps is a reasonable starting point. | Use this option only when you have a strict file size limit, such as for an email attachment or a specific advertising platform. |
For most online videos, the Constant Quality setting is the most reliable choice.
5. Start the Conversion
At the bottom of the window, locate the "Save As" field. Choose a destination folder and provide a clear file name, such as video-filename-720p.mp4. Once you are ready, click the green "Start Encode" button. The conversion time will depend on the video's length and your computer's processing power.
When preparing videos for specific platforms, understanding their technical requirements is beneficial. For example, knowing the correct video dimensions for Facebook ads can improve campaign performance.
How to Upscale a Video (Step-by-Step)
Increasing a video's resolution is more complex than decreasing it. While downscaling simply removes pixels, upscaling requires the creation of new pixels. Traditional software attempts this by stretching the existing image, which results in a blurry and pixelated video.
To properly enhance a low-resolution video, you must use an AI-powered workflow. This approach generates new, realistic detail rather than simply enlarging the original image. The process involves deconstructing the video into frames, upscaling them with an AI tool, and then reassembling them.
1. Extract Video Frames with FFmpeg
First, you need to convert your video into a sequence of still images. FFmpeg is a free command-line tool that is ideal for this task.
After installing FFmpeg, open your terminal or command prompt and use the following command structure:
ffmpeg -i yourvideo.mp4 -qscale:v 2 frames/frame-%05d.png
Here is a breakdown of the command:
ffmpeg -i yourvideo.mp4: Specifies "yourvideo.mp4" as the input file.-qscale:v 2: A quality setting that helps preserve detail during frame extraction.frames/frame-%05d.png: The output specification. This creates a folder named "frames" and saves the images asframe-00001.png,frame-00002.png, etc. The PNG format is used because it is lossless, preventing quality degradation.
This command will produce a folder containing every frame from your video.
2. Upscale the Frames with an AI Tool
Next, you will process these frames with an AI image upscaler. Unlike traditional editors that use simple interpolation, AI models can generate sharp, realistic detail. Many of these tools use advanced neural networks such as Generative Adversarial Networks (GANs) or diffusion models.
In plain language:
- GANs work with two AIs. A "generator" creates an upscaled image, and a "discriminator" compares it to real high-resolution images. This competitive process pushes the generator to create highly realistic results.
- Diffusion Models begin with random noise and progressively refine it into a clean, high-resolution image based on the input frame. This technique is excellent for restoring textures and removing compression artifacts.
A web-based tool like MyImageUpscaler is well-suited for this workflow. It requires no installation and performs all processing in the cloud, so you do not need a powerful computer. The tool also supports batch processing, allowing you to upload all your extracted frames at once.
You can try this by signing up for 10 free credits.

3. Recompile Frames into a High-Resolution Video
After downloading your upscaled frames from MyImageUpscaler, you will use FFmpeg again to recompile them into a video.
The command for this step is:
ffmpeg -framerate 24 -i upscaled/frame-%05d.png -c:v libx264 -pix_fmt yuv420p output.mp4
Here is what each part of the command does:
-framerate 24: Sets the video's frame rate. You must match this to your original video's frame rate to avoid speed issues.-i upscaled/frame-%05d.png: Specifies the folder containing your upscaled frames.-c:v libx264: Selects the H.264 video codec for broad compatibility.-pix_fmt yuv420p: Ensures the color space is compatible with most modern players.output.mp4: The file name for your final high-resolution video.
This AI-driven workflow is more complex than other methods but produces a significantly higher-quality result when upscaling. It is the preferred method for professionals who need to restore or remaster footage. For more tool comparisons, our guide on the best video upscaling software available in 2026 provides additional options. You can also read a review of the Topaz Video Upscaler for a look at a dedicated desktop application.
Key Insight: The frame-by-frame AI method is the only way to add new, believable detail to a low-resolution video. The result is a sharper video that looks authentically high-resolution, not just a blurry, enlarged version of the original.
Pro Tips for Preserving Video Quality
Changing a video's resolution is a destructive process. Downscaling discards data, while traditional upscaling invents data poorly. In either case, you risk losing quality. The following tips will help you minimize quality loss.
Always Start With the Highest Quality Source
This is the most important rule. Each time a video is re-encoded, it suffers from "generation loss," and the quality degrades. It is like making a photocopy of a photocopy—each version is less clear than the last.
If you have an original 4K master file, use it to create your 1080p and 720p versions. Do not create the 720p version from the 1080p file.
Your final video quality is limited by the quality of your source file. Avoid using a compressed video downloaded from an online platform. Always use the original camera file or master export.
Choose the Right Video Codec
A codec (coder-decoder) is the technology used to compress your video. The codec you choose affects the balance between file size and visual quality.
| Codec | Efficiency | Compatibility | Best For |
|---|---|---|---|
| H.264 (AVC) | Good | Excellent | Universal playback on almost any device and platform. |
| H.265 (HEVC) | Excellent | Good (and improving) | Achieving the same quality as H.264 at a smaller file size, especially for 4K video. |
H.265 (HEVC) can deliver the same visual quality as H.264 at approximately half the bitrate, resulting in a file that is about 50% smaller. If your target platform supports it, using H.265 is a smart choice for preserving quality.
Understand the Role of Bitrate
Bitrate is the amount of data allocated per second of video. It is critical for maintaining quality. If you lower the resolution but set the bitrate too low, the video will appear blocky and full of artifacts. There is no single "perfect" bitrate, but these are reliable starting points for H.264 video:
- 4K (2160p): 35–68 Mbps
- 1080p: 8–15 Mbps
- 720p: 5–10 Mbps
Do not rely on default software settings. Export a short test clip and review it. If you see compression artifacts, especially in scenes with high motion, you should increase the bitrate. A Vidalytics study found that videos with a max resolution of 1080p combined with fast load times increased viewer engagement by 20-30%, as 53% of mobile users abandon sites that take longer than 3 seconds to load. You can see the full study's findings here.
You can use the 10 free credits from MyImageUpscaler to test this. Try using our AI Noise Reduction Upscaler to clean footage before re-encoding it to see how it improves the final result.
FAQ: Your Top Questions Answered
Here are direct answers to common questions about changing video resolution.
Can I change a video's resolution without losing quality?
For downscaling (e.g., 4K to 1080p), it is possible to achieve a result that looks nearly identical to the original. As long as you use a high-quality source and an appropriate bitrate, the process is clean.
For upscaling (e.g., 480p to 1080p), traditional software will always cause quality loss by stretching pixels, creating a blurry image. AI is the only way to upscale without this degradation. AI models do not just stretch pixels; they analyze the content and generate new, realistic detail. This is how you can achieve a genuinely sharp result.
What is the best resolution for YouTube in 2026?
For YouTube in 2026, the "best" resolution balances quality with practicality.
- 1080p (Full HD): This remains the standard. It provides excellent quality for most viewers on all devices and keeps file sizes manageable.
- 1440p (QHD): This is a strong option for creators. Uploading in 1440p can prompt YouTube to use its more efficient VP9 codec, which can make your 1080p stream appear sharper than if you had uploaded at 1080p directly.
- 4K (UHD): Use 4K when maximum detail is essential, such as for cinematic content or nature videos. It also helps future-proof your content, but be prepared for large file sizes and long upload times.
For most creators, uploading at 1440p offers the best balance of quality and efficiency.
Does increasing resolution make the video quality better?
No. Simply increasing a video's resolution number in a traditional editor does not improve its quality; it often makes it worse. Video quality is determined by a combination of resolution, bitrate, and source file clarity. If you upscale a grainy 720p video to 4K using basic software, you will only get a large, blurry 4K file where the original flaws are more visible.
How long does it take to change a video's resolution?
The time required can range from minutes to hours, depending on several factors.
| Factor | Impact | Why It Matters |
|---|---|---|
| Video Length | High | Longer videos have more frames to process, which increases the time required. |
| Your Hardware | High | A powerful CPU and GPU will significantly speed up encoding and rendering times. |
| Method | High | A simple downscale in HandBrake is fast. An AI upscaling workflow is the most time-intensive method but provides the best results for upscaling. |
| Resolution Change | Medium | Large changes in resolution, like 480p to 4K, require more processing than smaller changes. |
As an estimate, downscaling a five-minute clip may take only a few minutes. An AI upscale of the same clip could take an hour or more, depending on your hardware.
MyImageUpscaler is a web-based AI tool that helps you enhance your videos with superior quality. It requires no installation. Get started instantly with 10 free credits to upscale your video frames and see the difference AI can make. Sign up for free at myimageupscaler.com.

Reviewed byJoao Furtado
AI Image Upscaling Specialist
Joao is the founder of MyImageUpscaler and an AI image upscaling specialist. He tests every guide against real upscaling workflows — comparing model outputs, evaluating sharpness and artifact tradeoffs, and validating tool recommendations before publication.
- AI image upscaling
- Model comparison
- Photo restoration
- E-commerce image prep