![Image Enlarger vs Image Upscaler: What Is the Real Difference? [2026]](https://xqysaylskffsfwunczbd.supabase.co/storage/v1/object/public/blog-images/2026/02/1770945716116-blog-featured-comparison-2026.webp)
Image Enlarger vs Image Upscaler: What Is the Real Difference?
People use these terms interchangeably. Google treats them as near-synonyms. But if you care about the quality of your photos, the distinction matters.
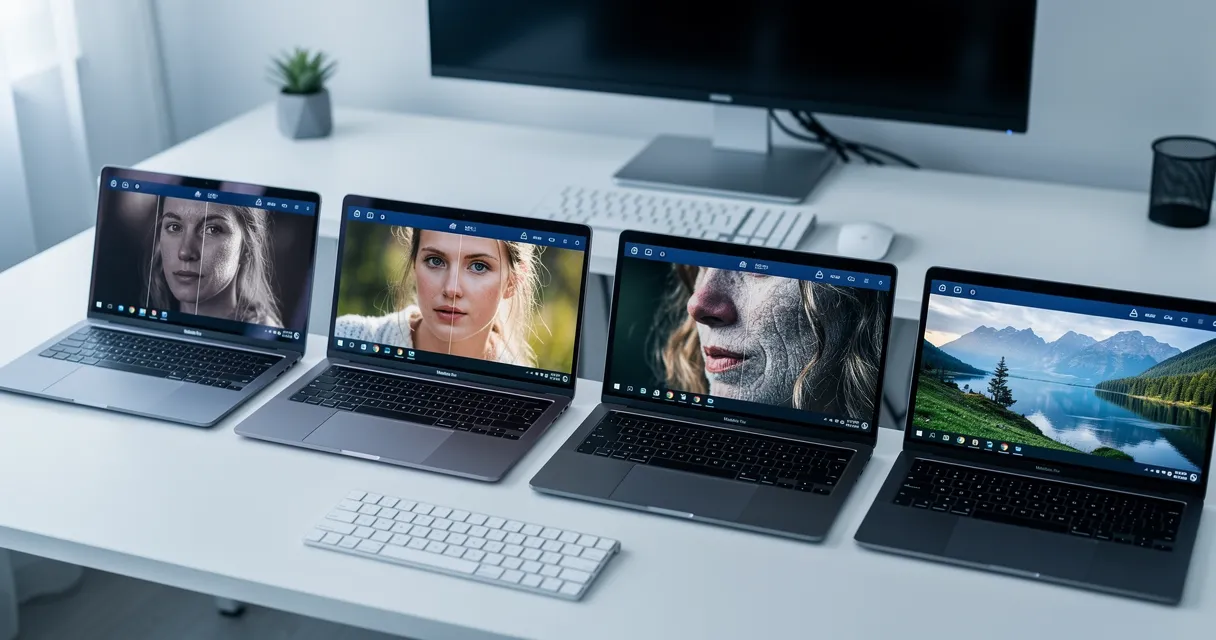
An image enlarger makes your image bigger. An image upscaler makes your image bigger and better. That single word — better — is the entire difference, and it changes everything about the output you get.
What Is an Image Enlarger?
An image enlarger increases the pixel dimensions of your image. A 500x500 photo becomes 1000x1000 or 2000x2000. The tool needs to fill in the gaps between existing pixels, and it does this through interpolation.
Common interpolation methods include:
- Nearest neighbor — copies the closest pixel. Fast but creates visible blockiness.
- Bilinear interpolation — averages surrounding pixels. Smoother but blurry.
- Bicubic interpolation — uses a wider sample of nearby pixels. Better than bilinear, still loses sharpness.
Every image editing program has these built in. Photoshop, GIMP, Paint — they all enlarge images this way. The math is simple, the processing is instant, and the results are predictable: your image gets bigger and softer.
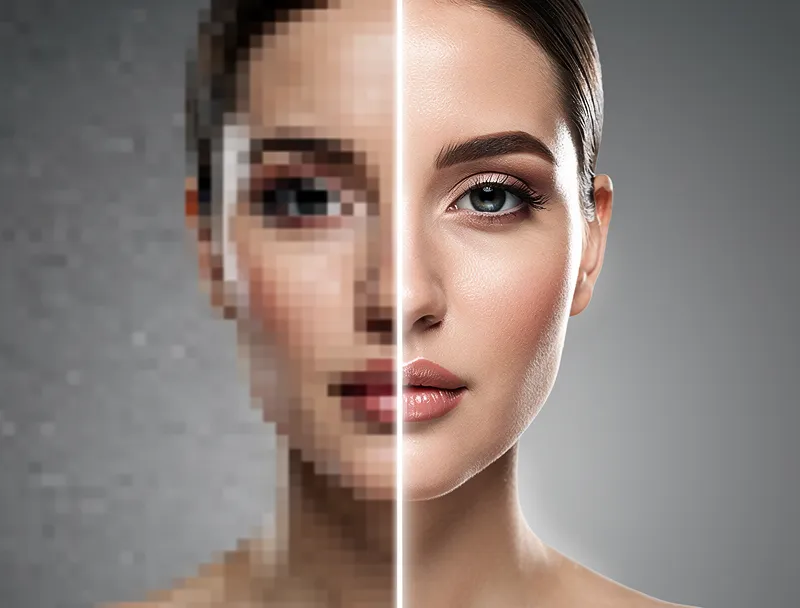
For simple graphics with flat colors and hard edges — logos, icons, diagrams — basic enlargement works fine. For photographs? The softness kills detail fast.
What Is an Image Upscaler?
An image upscaler also increases pixel dimensions, but it uses AI to generate the missing detail instead of averaging existing pixels.
The AI has been trained on millions of photos. It has learned what sharp edges look like, how skin texture renders at high resolution, how fabric folds create shadows. When it upscales your photo, it is not guessing based on four neighboring pixels — it is predicting what the full-resolution version should look like based on deep pattern recognition.
The result: upscaled images that contain detail the original never had. Edges stay sharp. Textures look natural. Text remains readable.
Head-to-Head Comparison
| Aspect | Image Enlarger | Image Upscaler |
|---|---|---|
| Technology | Mathematical interpolation | AI neural networks |
| Detail | Averages existing pixels | Generates new detail |
| Edges | Blurred | Sharp and defined |
| Textures | Smeared or lost | Reconstructed naturally |
| Speed | Instant | 5-30 seconds |
| Quality at 2x | Acceptable | Excellent |
| Quality at 4x | Poor | Very good |
| Quality at 8x+ | Unusable | Good (with limits) |
| Cost | Free (built into any editor) | Free to paid |
| Best for | Simple graphics, icons | Photos, artwork, everything |
When Basic Enlargement Is Enough
Not every image needs AI. Basic enlargement works well for:
- Vector-like graphics with flat colors and geometric shapes
- Small increases (1.5x or less) where softness is barely noticeable
- Images that will be heavily compressed anyway (tiny web thumbnails)
- Batch processing where speed matters more than quality
If you are enlarging a logo from 200px to 300px for a website footer, bicubic interpolation is perfectly fine.
When You Need AI Upscaling
Use an AI upscaler when quality matters:
- Printing photos — 300 DPI requires high resolution, and blur is obvious on paper
- E-commerce products — shoppers zoom in on product images, and soft detail looks cheap
- Social media content — platforms compress uploads, so starting higher preserves more quality
- Old photo restoration — scanned prints and vintage digital photos benefit enormously from AI enhancement
- Professional presentations — pixelated images in slides undermine your credibility
The Technical Explanation (Simplified)
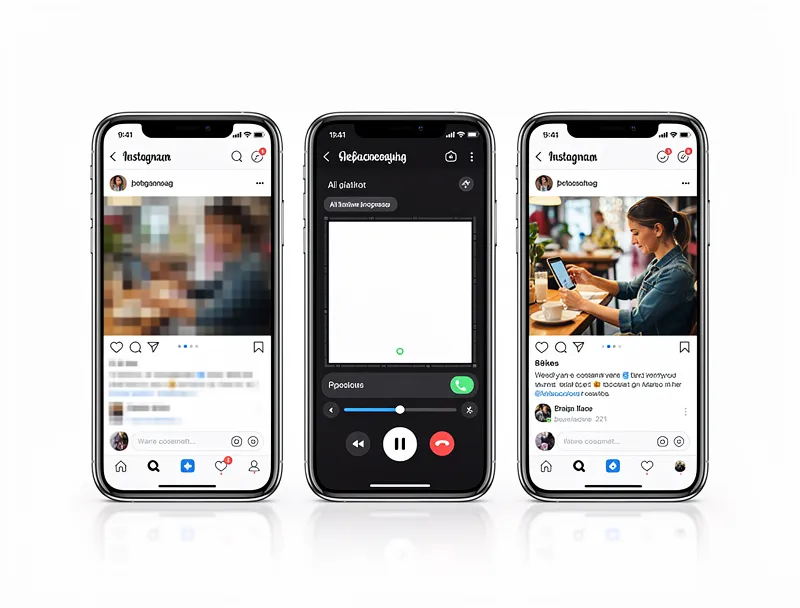
When a traditional enlarger encounters a gap between two pixels — say a dark blue pixel next to a light blue pixel — it creates an average: medium blue. Do this across an entire image and you get a uniformly softened result.
An AI upscaler handles the same gap differently. It examines the surrounding context — is this a sky gradient? A fabric fold? The edge of a building? — and generates an appropriate high-resolution detail. A sky gradient gets smooth blending. A fabric fold gets texture. A building edge gets a sharp line.
This context-aware generation is why AI upscaling preserves the character of your image while traditional enlargement does not.
How to Use an AI Image Upscaler
The process is simple:
- Go to MyImageUpscaler
- Upload your image (PNG, JPEG, or WebP)
- Select your upscale factor (2x, 4x, or 8x)
- Download the enhanced result
No software to install, no account required. The AI handles everything in seconds.
Which Should You Choose?
Use an image enlarger if you need quick resizing of simple graphics and do not care about fine detail.
Use an image upscaler for everything else. The quality difference is not subtle — it is the difference between a blurry mess and a sharp, professional image.
Most modern tools that call themselves "image enlargers" are actually using AI upscaling under the hood. The terminology is converging because AI upscaling is simply better for nearly every use case.
Try AI upscaling for yourself — upload a photo and compare the result to what your regular image editor produces. The difference speaks for itself.
Frequently Asked Questions
Quick answers for this guide
How do I choose the right image enlarger vs image upscaler what is the real difference? []?+
Image enlarger vs image upscaler — learn the key technical differences and which one gives better results for your photos. Free comparison guide. Compare tools by output sharpness, watermark policy, signup requirements, file limits, export quality, and whether the result holds up when inspected at 100%.
When should I use AI upscaling for this workflow?+
Use AI upscaling when the original image is too small for the target use case but still has enough detail to guide the model. For comparisons work, pay closest attention to source image quality, upscale settings, output dimensions, and final visual inspection, especially upscale, AI, comparison.
How do I avoid losing quality after upscaling?+
Upscale once from the best original, avoid repeated compression, keep important text and edges sharp, and export in a format that matches the final use. If the output shows halos, smeared texture, or distorted text, reduce the upscale factor or use a cleaner source image.

Reviewed byJoao Furtado
AI Image Upscaling Specialist
Joao is the founder of MyImageUpscaler and an AI image upscaling specialist. He tests every guide against real upscaling workflows — comparing model outputs, evaluating sharpness and artifact tradeoffs, and validating tool recommendations before publication.
- AI image upscaling
- Model comparison
- Photo restoration
- E-commerce image prep
![Free AI Photo Enhancer Online [2026] - No Watermark](https://xqysaylskffsfwunczbd.supabase.co/storage/v1/object/public/blog-images/2026/04/1777143132700-enhancer-featured-new.webp)
![Best Free Photo Restoration Services Online [2026] — Tested](https://xqysaylskffsfwunczbd.supabase.co/storage/v1/object/public/blog-images/2026/04/1777143102637-restoration-featured-new.webp)